RaspberryPI and a-gsm shield Send SMS LAN GATEWAY - implementation with Python, MySQL and PHP. Making the long story short, you will be able to send SMS from applications that runs in to your lan.
What you need to replicate/clone this project
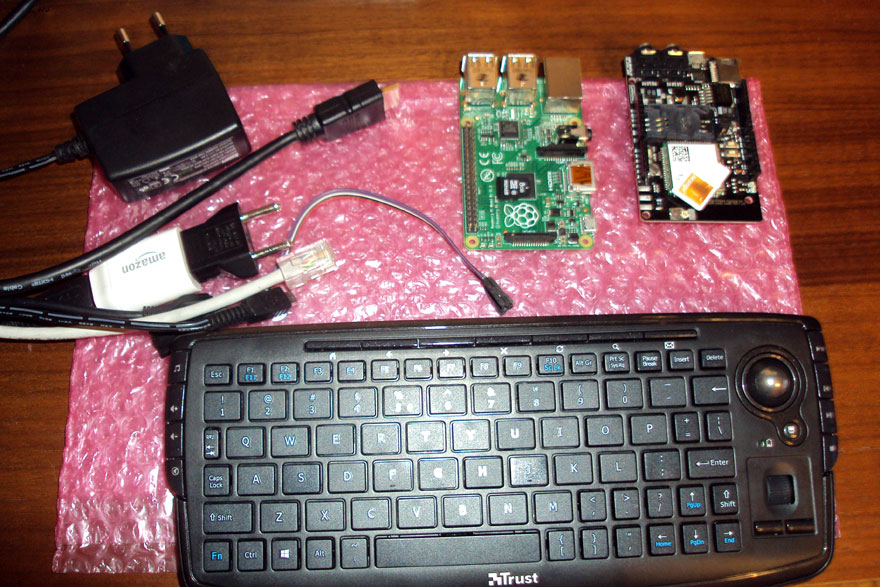
- Raspberry PI model B+ or Raspberry PI2 model B (Raspberry PI A+ can be used. You must hack the wiring) 1 pcs http://raspberrypi.org
- power supply for Raspberry PI 1 pcs
- keyboard + HDMI display (in production, those are not mandatory)
- 100BT (wired) lan / internet connection (connect RPI to your lan)
- uSD card RPi (8Gb or more) 1 pcs.
- a-gsm shield v2.064 1 pcs. a-gsm shield distributors or order online
- GSM (2G) SIM card 1 pcs
- power supply for the a-gsm shield (5V, ~1A... any decent Android phone/iPhone power adapter with uUSB type B connector) 1 pcs
- connection wires
- ...some time to bake all ingredients :))
How it works
The system has 2 paralel processes: one I/O system (WEB -PHP based or direct MySQL socket connection - see initiation methods bellow) and one Python based "send SMS" process. On the RaspberryPI, the PYTHON process will iterative query the local MySQL database (SMS table) for new messages/destinations pairs. When new pairs are available, SMS(s) will be send by same process and the SMS table is updated.
Two SMS initiation (injection) methods are available:
- a. remotely writing the destination number and the message directly in the RPI's MySQL database (socket based connection)
Example: "INSERT INTO `SMS` (`destinationNumber`,`message`) VALUES ('+40123456789','My first test message');" - b. accessing GET/POST WEB service that runs on RPI.
GET example==> http://myRPi_IP/injectSMS?number=+40123456789&message=My%20first%20test%20message
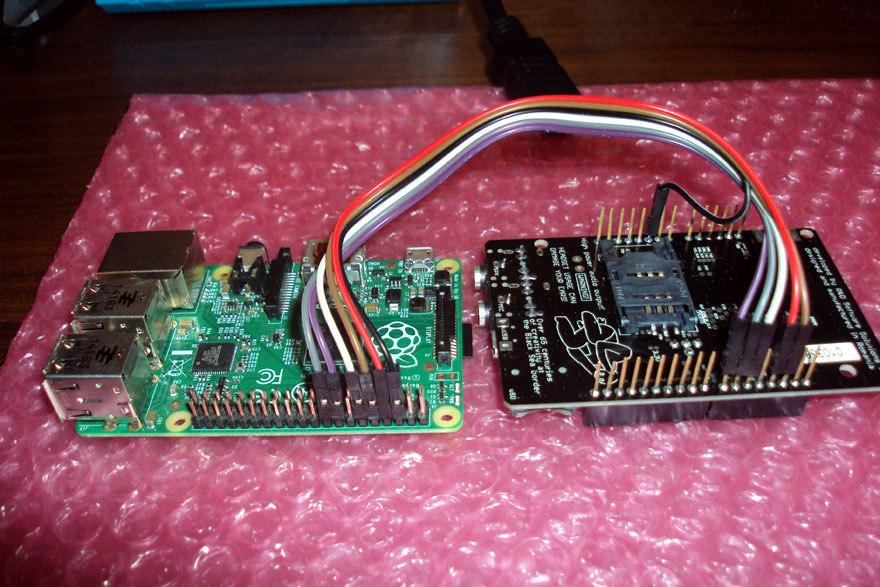
Hardware (Raspberry PI a-gsm shield) wiring
| WIRE ROLE | RPi B+ | a-gsm | |
| POWER a-gsm | 16 | D7 - power(UP/DOWN) | |
| RESET a-gsm | 18 | D6 - reset | |
| a-gsm STATUS | 12 | D5 - status | |
| serial TXD0 | 08 | D3 - tx(rxd) | |
| serial RXD0 | 10 | D2 - rx(txd) | |
| GND | 06/14 | GND - on Arduino power IN connector | |
| 5V | 02/04 | 5V - on Arduino power IN connector | DO NO WIRE IT!!! ***read bellow |
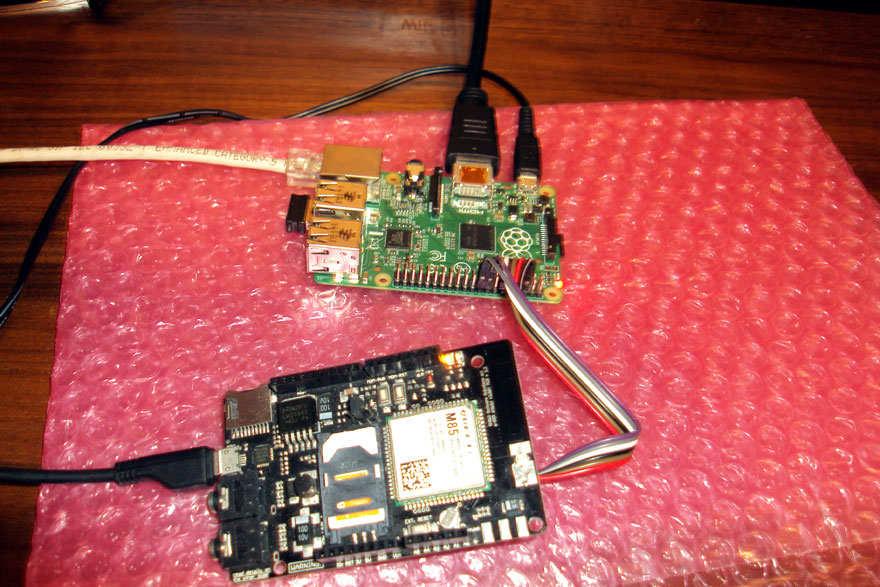
*** Power the a-gsm board over USB, using a good quality power adaptor (eg. your Arduino/iPhone power adaptor). The a-gsm's POWER supply input selector must be in "use USB" position.
RaspberryPI a-gsm shield wiring reference
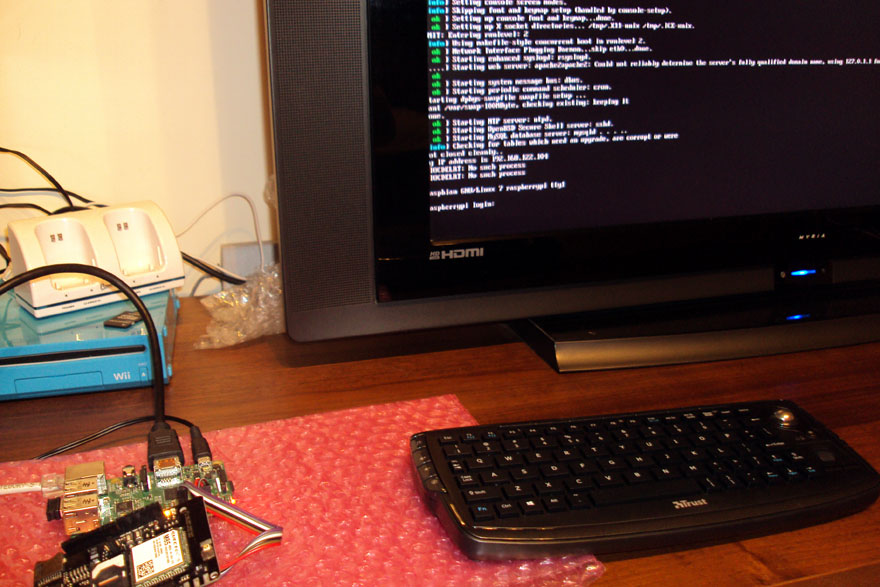
Connect and power your RPI GSM SHIELD SMS GATEWAY hardware bundle
Raspberry PI... Some considerations.
All commands must be run as root or using roots right. "sudo your_command" can be a good solution
BTW...if you would like to install Midnight Commander (for the sake of old and glorius days ), just run:
sudo apt-get -y install mc
Raspberry PI. Installing operating system. Some setup steps.
- download and install Raspbian image. SDFORMATER and WIN32DISKIMAGER utilities can help...google for.
-
running "sudo raspi-config"
- you may enable your root access to RPi
- expand the filesystem (some SD space it is not allocated when you write the OS image)
- chose runlevel 3 (console text) for your RPi
- proper set your eth0 configuration. Setting a static ip address may be useful.
-
do not forget:
- to change/set passwords for root and pi user
- enable sshd
Make available the RPi serial for connection with a-gsm. You can use vi or mcedit or any other editor at your convenience. Comment last "/etc/inittab" line:
#T0:23:respawn:/sbin/getty -L ttyAMA0 115200 vt100
reboot your RPi:
"reboot" or "restart now"
Raspeberry PI packages installation.
a. update install repositories. Run:
"sudo apt-get update"
b. install Apache2. Run:
"sudo apt-get install -y apache2"
c. install MySQL. Run:
"sudo apt-get install -y mysql-server"
d. install Python to mysqldb connector. Run:
"sudo apt-get install -y python-mysqldb"
e. install PHP. Run:
"sudo apt-get install -y php5"
d. and finally install PHP to mysqldb connector. Run:
"sudo apt-get install -y php5-mysql"
Check installed python modules (rpi.gpio, serial, python-mysqldb...). "dpkg -l | grep python" can help. Update/install if needed.
Raspeberry PI SMS GATEWAY database installation.
SQL script (included in project download files) preview:
CREATE DATABASE `agsm-sms` ;
CREATE TABLE IF NOT EXISTS `agsm-sms`.`SMS` (

  `id` int(11) NOT NULL AUTO_INCREMENT,

  `destinationNumber` varchar(20) NOT NULL,

  `smsContent` varchar(160) NOT NULL,

  `createTimestamp` int(11) NOT NULL DEFAULT '0',

  `sendTimestamp` int(11) NOT NULL DEFAULT '0',

  `errorCode` int(2) NOT NULL DEFAULT '-1',

  PRIMARY KEY (`id`),

  KEY `destinationNumber` (`destinationNumber`),

  KEY `createTimestamp` (`createTimestamp`),

  KEY `sendTimestamp` (`sendTimestamp`),

  KEY `errorCode` (`errorCode`)

) ENGINE=MyISAM DEFAULT CHARSET=latin1 COMMENT='SMS pooling table' AUTO_INCREMENT=1 ;


CREATE USER 'agsmSMSprocess'@'localhost' IDENTIFIED BY 'RPi_SMSDB_password_local';

GRANT USAGE ON * . * TO 'agsmSMSprocess'@'localhost' IDENTIFIED BY 'RPi_SMSDB_password_local' WITH MAX_QUERIES_PER_HOUR 0 MAX_CONNECTIONS_PER_HOUR 0 MAX_UPDATES_PER_HOUR 0 MAX_USER_CONNECTIONS 0 ;

REVOKE ALL PRIVILEGES ON `agsm-sms` . * FROM 'agsmSMSprocess'@'localhost';

GRANT SELECT , INSERT , UPDATE ON `agsm-sms` . * TO 'agsmSMSprocess'@'localhost';

FLUSH PRIVILEGES ;


#CREATE USER 'remoteInsertSMS'@'192.168.xxx.yyy' IDENTIFIED BY 'RPi_SMSDB_password_remote';

#GRANT USAGE ON * . * TO 'remoteInsertSMS'@'192.168.xxx.yyy' IDENTIFIED BY 'RPi_SMSDB_password_remote' WITH MAX_QUERIES_PER_HOUR 0 MAX_CONNECTIONS_PER_HOUR 0 MAX_UPDATES_PER_HOUR 0 MAX_USER_CONNECTIONS 0 ;

#REVOKE ALL PRIVILEGES ON `agsm-sms` . * FROM 'remoteInsertSMS'@'192.168.xxx.yyy';

#GRANT SELECT , INSERT , UPDATE ON `agsm-sms` . * TO 'remoteInsertSMS'@'192.168.xxx.yyy';

#FLUSH PRIVILEGES ;
- edit SMSdb.sql, line 16 and 17....change agsmSMSprocess password, just after IDENTIFIED BY. Remmember this password to modify it in python and php config files (see bellow).
- edit SMSdb.sql, line 22-26, in order to enable remote MySQL connection (inject SMSs socket queries). DO THIS ONLY IF YOU KNOW WHAT YOU DO! YOU HAVE BEEN WARNED!
- load/run SMSdb.sql into the MySQL
WEB service interface installation
- - just copy the php files into the root of the Apache server (default /var/www/html)
- - edit param.php file, updating the "agsmSMSprocess" password ($pass)
- - check the installation, accesing from one browser (use your RPi IP, number and message):
http://myRPi_IP/injectSMS.php?number=%2B44123456789&message=My%20first%20test%20message
or http://myRPi_IP/injectSMS.php?number=0044123456789&message=My%20first%20test%20message
or http://myRPi_IP/injectSMS.php?number=44123456789&message=My%20first%20test%20message
or http://myRPi_IP/injectSMS.php?number=0123456789&message=My%20first%20test%20message
depending to the SMS number format accepted by your NMO! Test this behavior manually (the SMS format accepted), before use it! Else, the SMS gateway will cicle trying to send the very same SMS reporting error. If you have an SMS inserted with number in unsupported format, you must manually delete that record from the SMS table (or install and use phpmyadmin tool). - - the server will reply in json format:
- - on success: {"id":table_SMS_id, "time":timestamp}
- - on error: {"err":error_code}
SMS processing module (PYTHON based) installation
mkdir /home/pi/agsmSendSMSgw
copy the python files in previous directory(folder)
edit the parMySQLconnect.py and update the "agsmSMSprocess" password
make sure you have SMS tasks defined in the SMS table
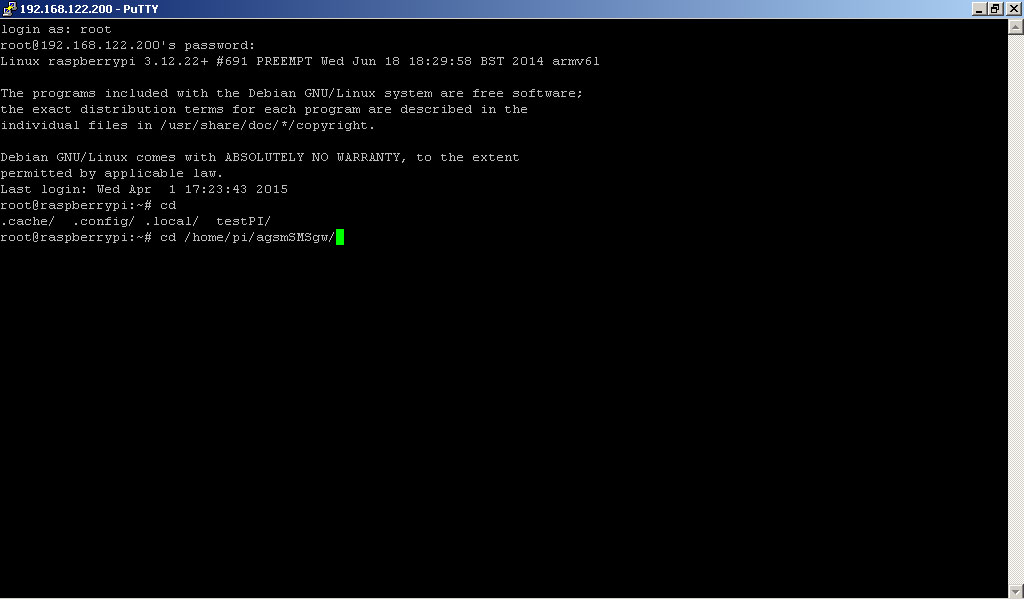
chdir /home/pi/agsmSendSMSgw
test the installation:
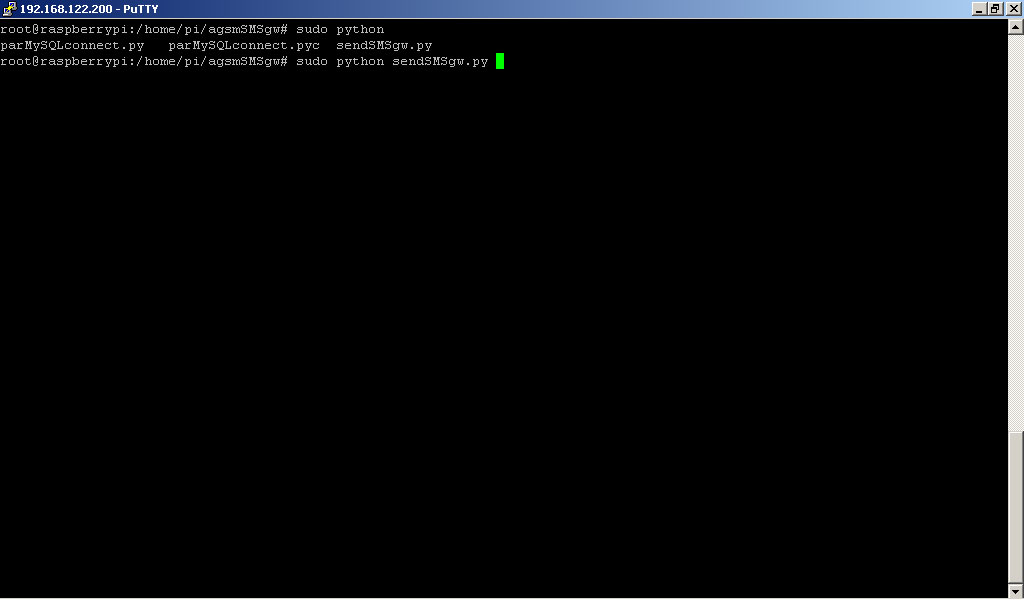
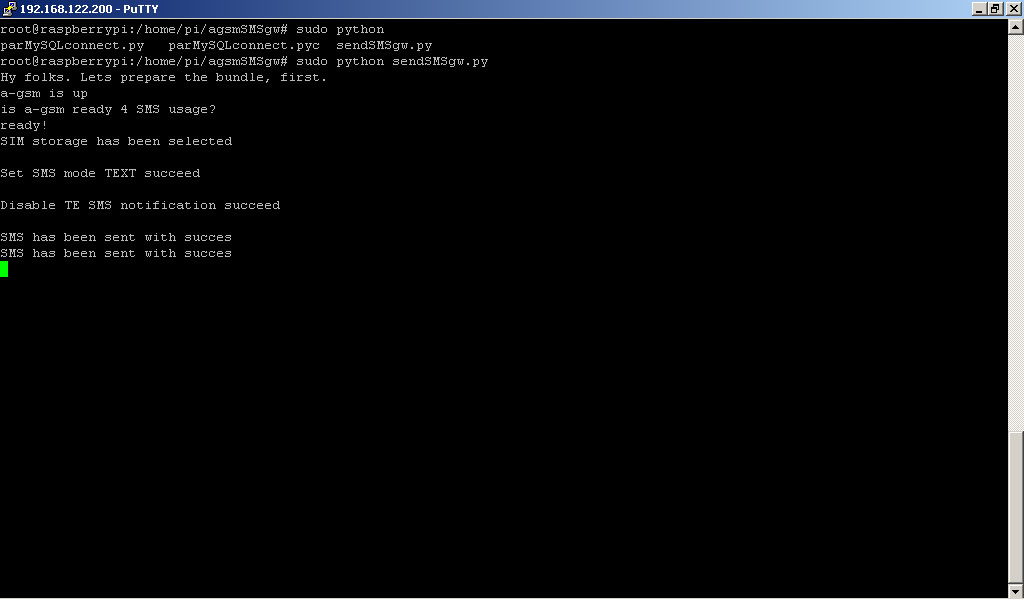
sudo python sendSMSgw.py
if application raises MySQL related errors you must check MySQL / database / user+password, else you will notice "SMS has been sent with succes" after sending SMSs.
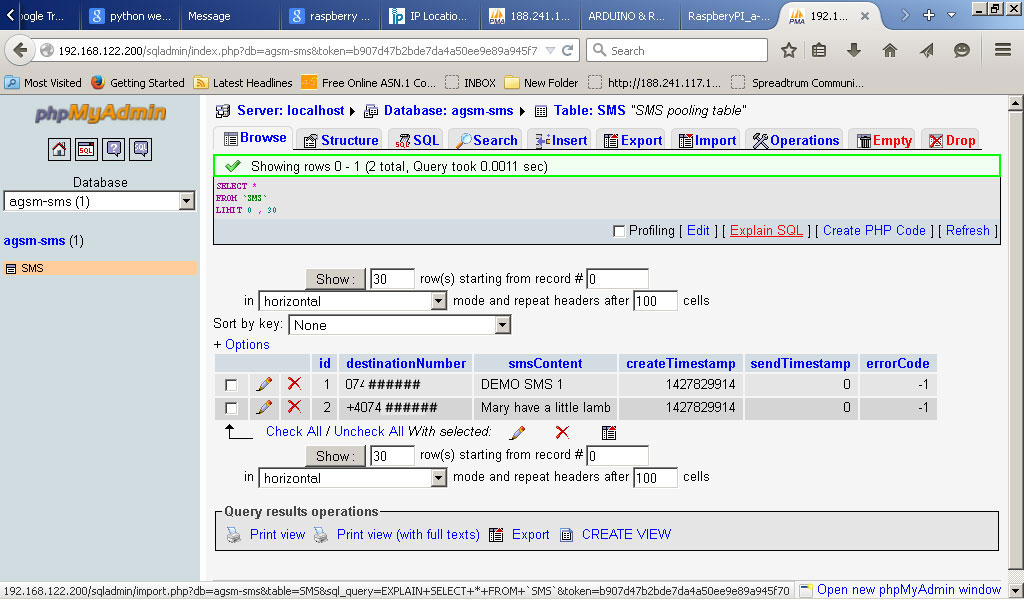
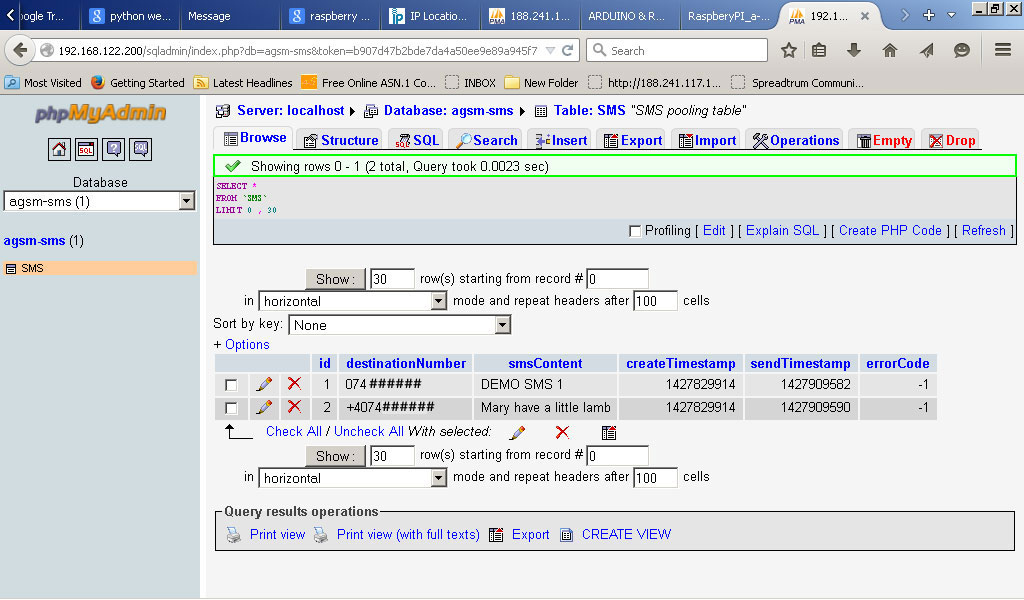
- Bellow, how the table will look like after sending the SMS:
And...the received SMSs:
DOWNLOAD RaspberryPI SMS GATEWAY RUNNING CODE here >>
Raspberry PI a-gsm shield LAN SMS GATEWAZ (tar.gz)
