About this tutorial
This tutorial address Raspberry PI 4, 3B+, 3B, 3A+, II, B, Zero and Zero W hardware and software integration with s-Sense itbrainpower.net HDC2010 high precision temperature and humidity I2C sensor.
This HDC2010 software was tested on Linux Debian using Python 2.7 with python-smbus2 module loaded.
About HDC2010 - temperature and humidity sensor
Texas Instruments HDC2010 it's an high accuracy digital temperature and humidity sensor. Main measurement characteristics:
- relative humidity range 0% - 100%
- humidity accuracy +-2% (factory calibrated)
- temperature from -40C to +125C (functional) and -40C to +80C (operational)
- typical temperature accuracy +-0.2C (factory calibrated)
- embedded heating element to burn away condensation
More info on: HDC2010 datasheet
In June 2019 we've realeased 6 new environmental and air quality sensors, including HDC2010 I2C sensor breakout and HDC2010+CCS811 I2C combo sensors breakout, all being part of the s-Sense I2C sensor breakout family.
s-Sense HDC2010 sensor breakout by itbrainpower.net
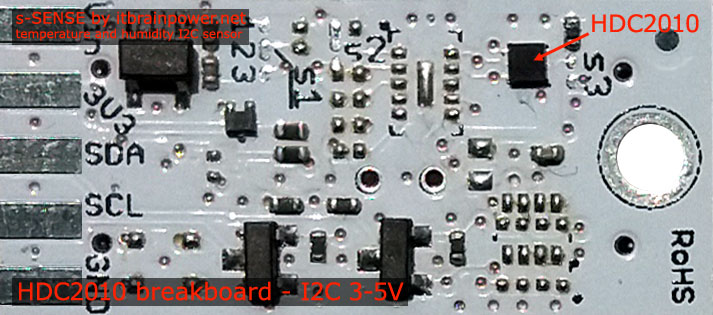
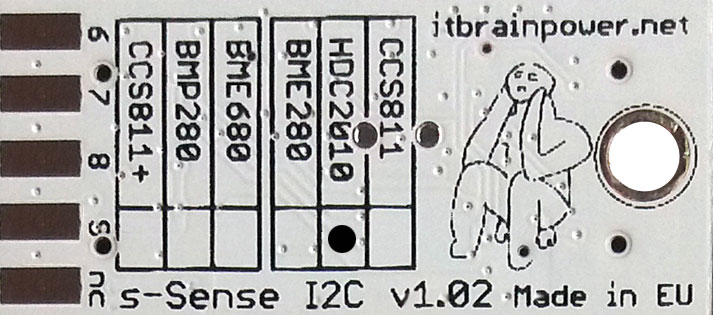
PN: SS-HDC2010#I2C SKU: ITBP-6005 HDC2010 I2C sensor breakout info
s-Sense HDC2010+CCS811 sensor breakout by itbrainpower.net
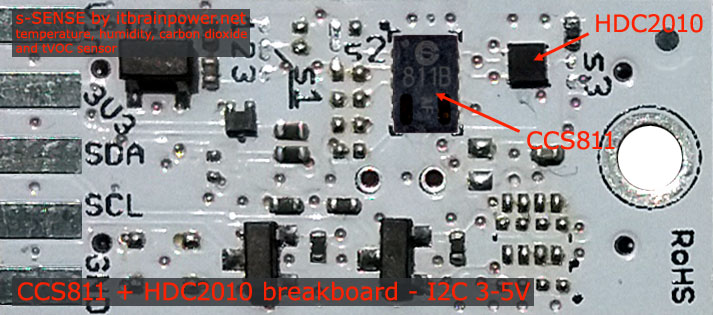
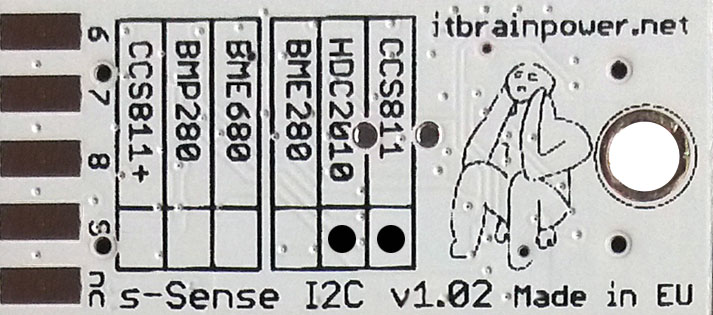
PN: SS-HDC2010+CCS811#I2C SKU: ITBP-6006 HDC2010+CCS811 I2C combo sensor breakout info
Next, let's kickstart with HDC2010 sensor I2C breakout - around 15-20 minutes. Same hardware and software approach may be used for CCS811 + HDC2010 bundle sensors I2C breakout.
RaspberryPI [Debian based Linux] setup, preamble software and hardware preparation
A. Enable I2C channel 1 on Raspberry PI
a. sudo raspi-config
menu F5 => select enable I2C option
save, exit.
sudo reboot now
b. edit /boot/config.txt and add/enable following directives:
dtparam=i2c_arm=on
dtparam=i2c_arm_baudrate=10000
save, then reboot RPI
B. Check i2c is loaded: ls /dev/*i2c*. This command should list something like: /dev/i2c-1
C. Check sensor I2C communication [HDC2010 should be connected, see wiring in next chapter]. Run: i2cdetect -y 1. In command output you should see listed the s-Sense HDC2010 I2C default address 0x40.
D. Install required python packages
a. sudo apt-get install python-setuptools
b. wget https://files.pythonhosted.org/packages/6a/06/80a6928e5cbfd40c77c08e06ae9975c2a50109586ce66435bd8166ce6bb3/smbus2-0.3.0.tar.gz *
c. Expand downloaded tar.gz archive. tar -xf smbus2-0.3.0.tar.gz will do the job.
d. chdir smbus2-0.3.0
e. sudo python setup.py install
* python-smbus2 package is also available here: https://itbrainpower.net/downloadables/smbus2-0.3.0.tar.gz
RaspberryPI HDC2010 sensor hardware integration (basic wiring)
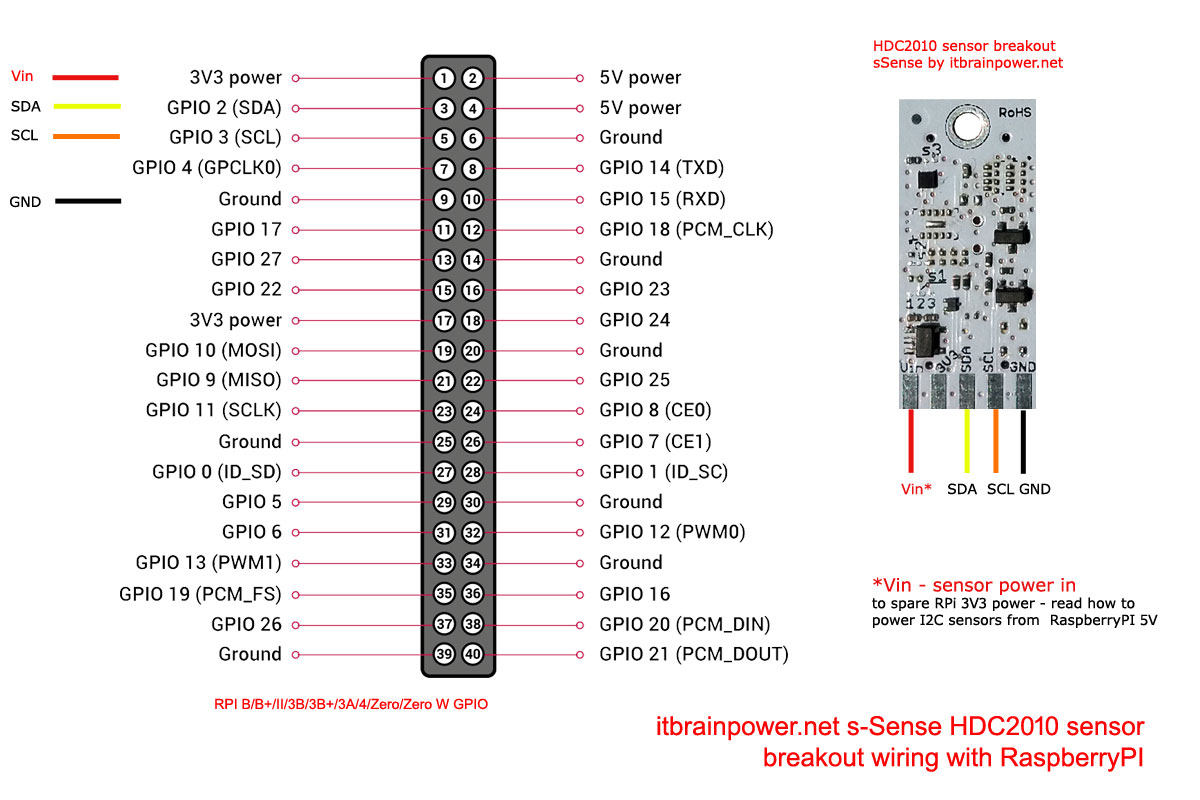
s-Sense by itbrainpower.net HDC2010 sensor is compatible with all Raspberry PI versions!
Next, all wiring directives are exemplified for Raspberry PI 4, 3B+, 3B, 3A+, II, B, Zero and Zero W. GPIO naming convention used in wiring description and in software is "GPIO pin number" - GPIO.setmode(GPIO.BOARD). In a nut shell, wire as bellow:
| HDC2010 breakout | RaspberryPI GPIO pin number | RaspberryPI pin role |
|---|---|---|
| Vin PAD | GPIO pin no. 01 * | RPi 3.3V * |
| Vdd PAD (3V3) | do not connect | do not connect |
| SDA PAD | GPIO pin no. 03 | SDA |
| SCL PAD | GPIO pin no. 05 | SCL |
| GND PAD | GPIO pin no. 09 | GND |
* sensor power in --> in order to spare Rpi 3V3 power, read how to power the I2C sensor from RasberryPI 5V pin, but having I2C reference at 3.3V! DO NOT power the sensor at 5V, until you know exactly what you do! You will damage your RaspberryPI board!
Bellow, basic HDC2020 sensor wiring to RaspberryPI with safe sensor powering from RaspberryPI 3.3V pin :
Python HDC2010 sensor software
a. download HDC2010 RaspberryPI Python library from: here.
b. expand tar.gz archive. Go inside new created folder.
c. Copy the code bellow, paste it one new file and save the file as "hdc2010_simple.py" in the python library folder
download it from here (right click & save as): HDC2010 - RaspberryPI read sensor data Python code
| 1 | """ |
| 2 | s-Sense HDC2010 by itbrainpower.net I2C sensor breakout example - v1.0/20200218. |
| 3 | |
| 4 | Compatible with: |
| 5 | s-Sense HDC2010 I2C sensor breakout [PN: SS-HDC2010#I2C, SKU: ITBP-6005], info https://itbrainpower.net/sensors/HDC2010-TEMPERATURE-HUMIDITY-I2C-sensor-breakout |
| 6 | s-Sense CCS811 + HDC2010 I2C sensor breakout [PN: SS-HDC2010+CCS811#I2C, SKU: ITBP-6006], info https://itbrainpower.net/sensors/CCS811-HDC2010-CO2-TVOC-TEMPERATURE-HUMIDITY-I2C-sensor-breakout |
| 7 | all RaspberryPI, using Python 2.7 |
| 8 | |
| 9 | HDC2010 temperature and humidity (pulling at 2 second) reading example - based on HDC2010 library written |
| 10 | by Brandon Fisher and provided by TI. Thank you Brandon! Great job! Read credits bellow and inside the class. |
| 11 | |
| 12 | We've just add add some variables, functions and functionalities and port all to python. |
| 13 | |
| 14 | |
| 15 | Mandatory wiring [bellow for RPi B/B+/II/3B/3B+/3A+/4/Zero/Zero W]: |
| 16 | - sensor Vin <------> RPI pin 1 [3V3 power] * |
| 17 | - sensor I2C SDA <------> RPI pin 3 [i2c-1 SDA] |
| 18 | - sensor I2C SCL <------> RPI pin 5 [i2c-1 SCL] |
| 19 | - sensor GND <------> RPI pin 9 [GND] |
| 20 | |
| 21 | Wiring notes: |
| 22 | * to spare 3V3 power - read about RPI I2C sensors 5V powering |
| 23 | |
| 24 | WIRING WARNING: |
| 25 | Wrong wiring may damage your RaspberryPI or your sensor! Double check what you've done. |
| 26 | |
| 27 | |
| 28 | HDC2010 definitions are placed in hdc2010_param.py |
| 29 | |
| 30 | |
| 31 | Bellow, how to set-up i2c on RPi and install requiered python packages and other utilities. |
| 32 | |
| 33 | Enable I2C channel 1 |
| 34 | a. sudo raspi-config |
| 35 | menu F5 => enable I2C |
| 36 | save, exit and reboot. |
| 37 | |
| 38 | |
| 39 | b. edit /boot/config.txt and add/enable following directives: |
| 40 | dtparam=i2c_arm=on |
| 41 | dtparam=i2c_arm_baudrate=10000 |
| 42 | |
| 43 | save and reboot. |
| 44 | |
| 45 | Check i2c is loaded: |
| 46 | run: ls /dev/*i2c* |
| 47 | should return: /dev/i2c-1 |
| 48 | |
| 49 | Add i2c-tools packages: |
| 50 | sudo apt-get install -y i2c-tools |
| 51 | |
| 52 | Check sensor I2C connection: |
| 53 | run: i2cdetect -y 1 |
| 54 | you should see listed the s-Sense HDC2010 I2C address [0x40] |
| 55 | |
| 56 | Install additional python packages: |
| 57 | a. sudo apt-get install python-setuptools |
| 58 | b. wget https://files.pythonhosted.org/packages/6a/06/80a6928e5cbfd40c77c08e06ae9975c2a50109586ce66435bd8166ce6bb3/smbus2-0.3.0.tar.gz |
| 59 | c. expand archive |
| 60 | d. chdir smbus2-0.3.0 |
| 61 | e. sudo python setup.py install |
| 62 | |
| 63 | |
| 64 | You are legaly entitled to use this SOFTWARE ONLY IN CONJUNCTION WITH s-Sense HDC2010 I2C sensors DEVICES USAGE. Modifications, derivates and redistribution |
| 65 | of this software must include unmodified this COPYRIGHT NOTICE. You can redistribute this SOFTWARE and/or modify it under the terms |
| 66 | of this COPYRIGHT NOTICE. Any other usage may be permited only after written notice of Dragos Iosub / R&D Software Solutions srl. |
| 67 | |
| 68 | This SOFTWARE is distributed is provide "AS IS" in the hope that it will be useful, but WITHOUT ANY WARRANTY; without even the implied warranty of MERCHANTABILITY |
| 69 | or FITNESS FOR A PARTICULAR PURPOSE. |
| 70 | |
| 71 | |
| 72 | itbrainpower.net invests significant time in design phase of our IoT products and in associated software and support resources. |
| 73 | Support us by purchasing our environmental and air quality sensors from here https://itbrainpower.net/order#s-Sense |
| 74 | |
| 75 | |
| 76 | Dragos Iosub, Bucharest 2020. |
| 77 | https://itbrainpower.net |
| 78 | """ |
| 79 | |
| 80 | from time import sleep |
| 81 | from hdc2010 import * |
| 82 | |
| 83 | |
| 84 | |
| 85 | hdc2010Reset() #start with sensor reset |
| 86 | |
| 87 | #hdc2010SetTemperatureOffset(0b11010111) #-6.64 degrees Celsius - determine and set your, see definitions and HDC2010 datasheet |
| 88 | |
| 89 | hdc2010SetMeasurementsMode(HDC2010_TEMP_AND_HUMID) #Set measurements to temperature and humidity 14bits resolution |
| 90 | hdc2010SetRate(HDC2010_ONE_HZ) #Set measurement frequency to 1 Hz |
| 91 | #hdc2010SetRate(HDC2010_MANUAL) #Set measurement with manual trigger |
| 92 | |
| 93 | #hdc2010SetRate(HDC2010_FIVE_SECONDS) #Set measurement 1/5 Hz |
| 94 | hdc2010SetTempRes(HDC2010_FOURTEEN_BIT) #Set temperature resolution at 14bits |
| 95 | #hdc2010SetTempRes(HDC2010_NINE_BIT) #Set temperature resolution at 9bits |
| 96 | |
| 97 | hdc2010SetHumidRes(HDC2010_FOURTEEN_BIT) #Set humidity resolution at 14bits |
| 98 | |
| 99 | |
| 100 | hdc2010TriggerMeasurement() #trigger measurements |
| 101 | sleep(1) |
| 102 | |
| 103 | |
| 104 | while(1): |
| 105 | temperature = hdc2010ReadTemp() |
| 106 | humidity = hdc2010ReadHumidity() |
| 107 | print "Temperature in Celsius : %.4f C" %temperature |
| 108 | print "Relative Humidity : %.4f %%" %humidity |
| 109 | #hdc2010TriggerMeasurement() |
| 110 | sleep(2) |
| 111 | |
| 112 |
c'. Previous code it's included in HDC2010 RaspberryPI Python library package.
d. Check HDC2010 params in "hdc2010_param.py" file. Run HDC2010 code with command "python hdc2010_simple.py".
HINTS:
- if you update the code inside "hdc2010_param.py" file, before run it, just run "./clean" utility in order to delete Python precompiled files.
- in order to convert measurement units and more use functions inside s-Sense air quality utils python library.
Enjoy!
TUTORIAL PROVIDED WITHOUT ANY WARRANTY!!! USE IT AT YOUR OWN RISK!!!!