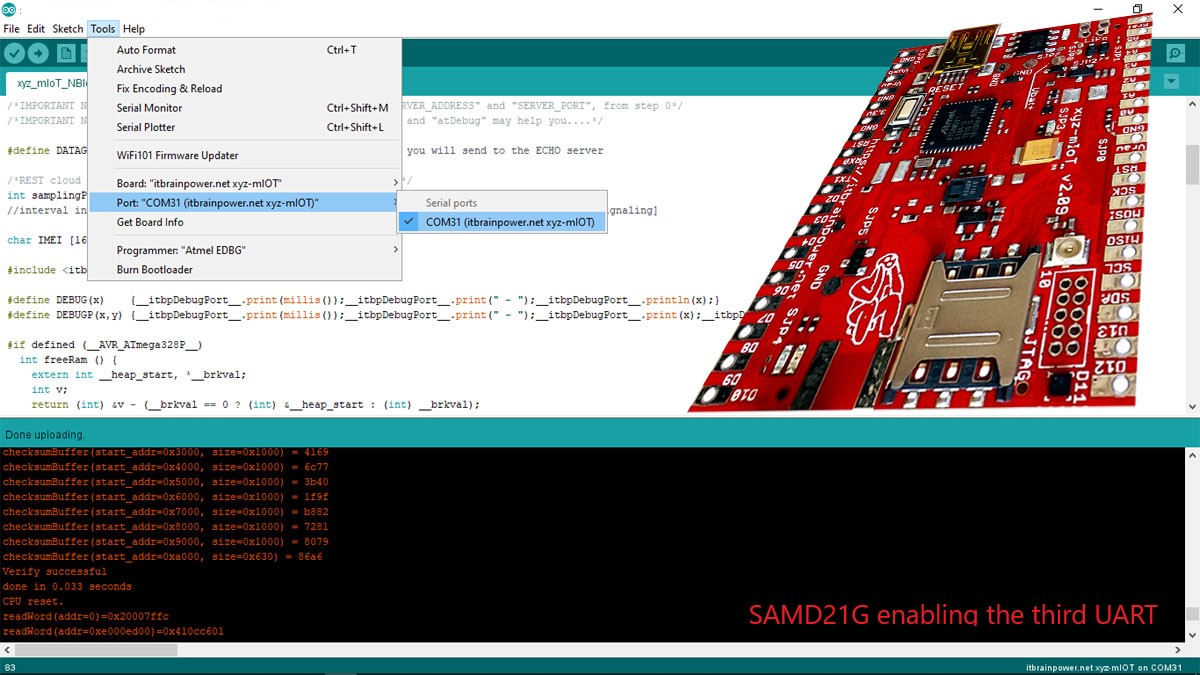
About xyz-mIoT shield

xyz-mIoT is an AT SAMD21G (ARM0) based shield family (16 models, including variants having BG96 / BG95-Mx / BC95G / EG91x / M95FA modem integrated) designed by itbrainpower.net.
Available models and info xyz-mIoT shield family and xyz-mIoT - Arduino ports mapping.
About xyz-mIoT and the third UART port
As default, the xyz-mIoT Arduino class gave you access to hardware UART ports Serial0 (dedicated for modem communication) and Serial1 port (available on RX0 and TX1 pads). Also two Serial ports are implemented via board USB-serial Arduino driver.
For certaign applications, the presence of the third UART port was requested. Bellow are some guidelines that enables this feature.
Credits:
I would like to thank you to navr32 ==> github.com who gave us valuable info and insigts about this.
Enabling the third UART port on xyz-mIoT - how to
a. identify xyz-mIoT "variant.cpp" and add at the end of the "const PinDescription g_APinDescription" following lines:
// 44..45 Third xyz-mIot UART using Sercom2
{ PORTA, 14, PIO_SERCOM, (PIN_ATTR_DIGITAL), No_ADC_Channel, NOT_ON_PWM, NOT_ON_TIMER, EXTERNAL_INT_14 }, // TX: SERCOM2/PAD[2]
{ PORTA, 15, PIO_SERCOM, (PIN_ATTR_DIGITAL), No_ADC_Channel, NOT_ON_PWM, NOT_ON_TIMER, EXTERNAL_INT_15 }, // RX: SERCOM2/PAD[3]
Hints:
- before doing this, you may like to make a backup of your variant.cpp
- "variant.cpp" should be found under Arduino hardware folder. Check in Arduino under File\Preferences\Settings menu tree.
Our is located "..Arduino15\packages\arduino\hardware\samd\1.6.17\variants\itbrainpower.net_xyz-mIOT".
b. Make a folder named "Serial2_echo_02".
Copy the code bellow, paste it one new file and save the file as "Serial2_echo_02.ino" in the folder created in previously or, you may
download it from here (right click & save as): enabling the third UART porton xyz-mIoT, Arduino code
| 1 | /* Serial2 echo - enabling the third UART port on xyz-mIoT shields - v0.2/20230301. |
| 2 | * |
| 3 | * Serial2 RX and TX definitions should be added in variant.cpp |
| 4 | * usual path ==> "C:\Users\.........\Arduino15\packages\arduino\hardware\samd\1.6.17\variants\itbrainpower.net_xyz-mIOT\variant.cpp" |
| 5 | * |
| 6 | * add at the end of the "const PinDescription g_APinDescription" following 3 lines: |
| 7 | * // 44..45 Third xyz-mIot UART using Sercom2 |
| 8 | * { PORTA, 14, PIO_SERCOM, (PIN_ATTR_DIGITAL), No_ADC_Channel, NOT_ON_PWM, NOT_ON_TIMER, EXTERNAL_INT_14 }, // TX: SERCOM2/PAD[2] |
| 9 | * { PORTA, 15, PIO_SERCOM, (PIN_ATTR_DIGITAL), No_ADC_Channel, NOT_ON_PWM, NOT_ON_TIMER, EXTERNAL_INT_15 }, // RX: SERCOM2/PAD[3] |
| 10 | * |
| 11 | * COMPATIBILITY: this is compatible with all xyz-mIoT shields https://itbrainpower.net/xyz-mIoT/ |
| 12 | * |
| 13 | * We ask you to use this SOFTWARE only in conjunction with xyz-mIoT shields(s) breakout usage. Modifications, derivates |
| 14 | * and redistribution of this SOFTWARE must include unmodified this notice. You can redistribute this SOFTWARE and/or modify it under the |
| 15 | * terms of this notice. |
| 16 | * |
| 17 | * This SOFTWARE is distributed is provide "AS IS" in the hope that it will be useful, but WITHOUT ANY WARRANTY; without even the implied warranty of |
| 18 | * MERCHANTABILITY or FITNESS FOR A PARTICULAR PURPOSE. |
| 19 | * |
| 20 | * itbrainpower.net invests significant time and resources providing those how to and in design phase of our IoT products. |
| 21 | * Support us by purchasing our xyz-mIoT shields from https://itbrainpower.net/order#xyz-mIoT |
| 22 | * |
| 23 | * I would like to thank you to navr32 ==> github.com who gave us valuable info and insigts about this. |
| 24 | * |
| 25 | * Dragos Iosub, Bucharest 2023. |
| 26 | * https://itbrainpower.net |
| 27 | */ |
| 28 | |
| 29 | #define PIN_SERIAL2_RX (45ul) //RX digital pin 5 [mapped also as 45] |
| 30 | #define PIN_SERIAL2_TX (44ul) //TX digital pin 2 [mapped also as 44] |
| 31 | #define PAD_SERIAL2_TX (UART_TX_PAD_2) |
| 32 | #define PAD_SERIAL2_RX (SERCOM_RX_PAD_3) |
| 33 | |
| 34 | // Let's init the Serial2 class |
| 35 | Uart Serial2(&sercom2, PIN_SERIAL2_RX, PIN_SERIAL2_TX, PAD_SERIAL2_RX, PAD_SERIAL2_TX); |
| 36 | |
| 37 | void setup() |
| 38 | { |
| 39 | Serial2.begin(115200); // INIT Serial2 |
| 40 | SerialUSB.begin(115200); // INIT SerialUSB - just to have it as debug |
| 41 | delay (2000); |
| 42 | Serial2.println("test third UART on xyz-mIoT"); |
| 43 | SerialUSB.println("test third UART on xyz-mIoT"); |
| 44 | |
| 45 | } |
| 46 | |
| 47 | void loop() |
| 48 | { |
| 49 | if (Serial2.available()) // Data available? |
| 50 | { |
| 51 | byte byteRead = Serial2.read(); // Read byte |
| 52 | Serial2.write(byteRead); // Echo the read byte |
| 53 | SerialUSB.write(byteRead); // Write the read byte on SerialUSB |
| 54 | } |
| 55 | } |
| 56 | |
| 57 | void SERCOM2_Handler() // IRQ handler for SERCOM2 |
| 58 | { |
| 59 | Serial2.IrqHandler(); |
| 60 | } |
| 61 |
HINT:
TX <--> xyz-mIoT D2
RX <--> xyz-mIoT D5
TUTORIAL PROVIDED WITHOUT ANY WARRANTY!!! USE IT AT YOUR OWN RISK!!!!