About this
This tutorial address the Raspberry PI 4, 3B+, 3B, 3A+, II, B, Zero and Zero W software integration with itbrainpower.net modems [full size or modular, 2G / 3G / 4G or LPW LTE CATM], including our u-GSM modem family [~22 modem types having BBB P9 interface embedded].
Most of the hardware related notes regarding modem integration will be exemplified for u-GSM modem, but will find references for the other itbrainpower.net modems.
Involved parts
- Raspberry PI 4 / 3B+ / 3B / 3A+ / II / B / Zero / Zero W
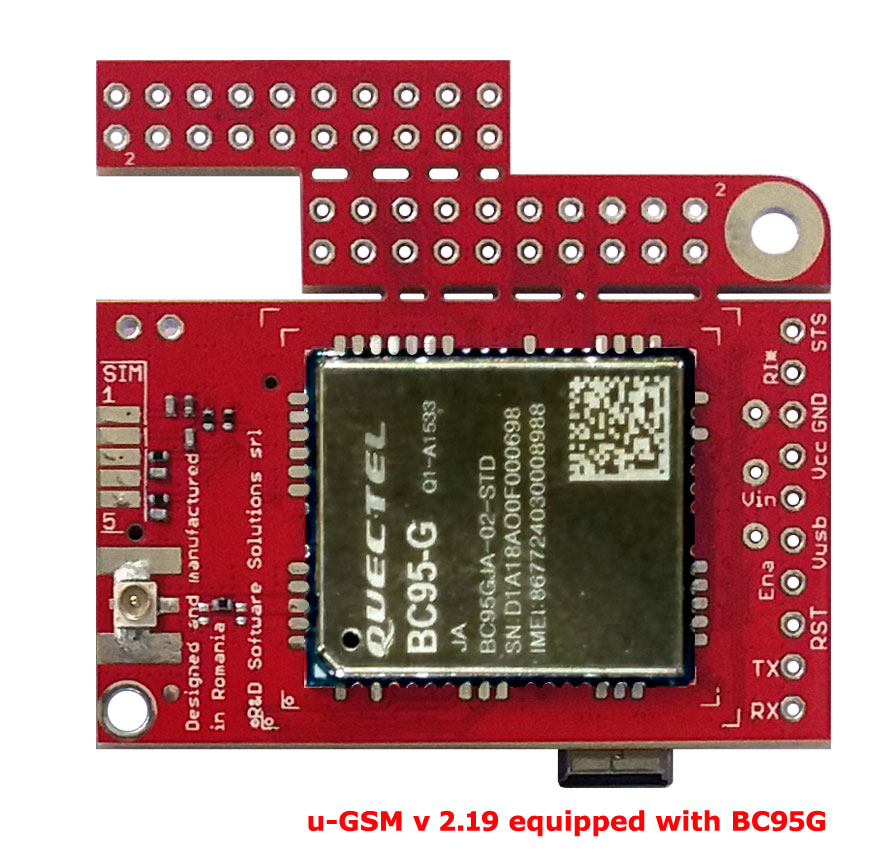
- any u-GSM modem uFL version (excepting BC95G version*) or
- any first version of ITBP modular modem (c-uGSM, h-nanoGSM, d-u3G or l-LTE **), and mandatory one of the following:
- 1pcs. x LiPo battery [3.7V, > 250mA]***, or
- 1pcs. x super-capacitor for itbrainpower.net modems***.
* BC95G (do not be confused with BG95-M2 or BG95-M3) does not have ppp support included.
** first generation itbrainpower modular modems does not have RPI interface integrated, but still can be interfaced with RPI using wires. Same interfacing directives may be applied for u-GSM modems SMA version!
note@20230227 => I stress you again! LiPo/LiION battery OR super-capacitor are REQUIERED for proper u-GSM functionality! *
* for low power LTE u-GSM modems used in LTE-CATM or NBIoT mode only [BG95-M2 and BG96/BG95-M3 having 2G mode restricted], the LiPO battery or the super-capacitor can be safely replaced with 1000-1500uF/6.3V LOW ESR capacitor.
Some RaspberryPi [4 or other] and u-GSM hardware references
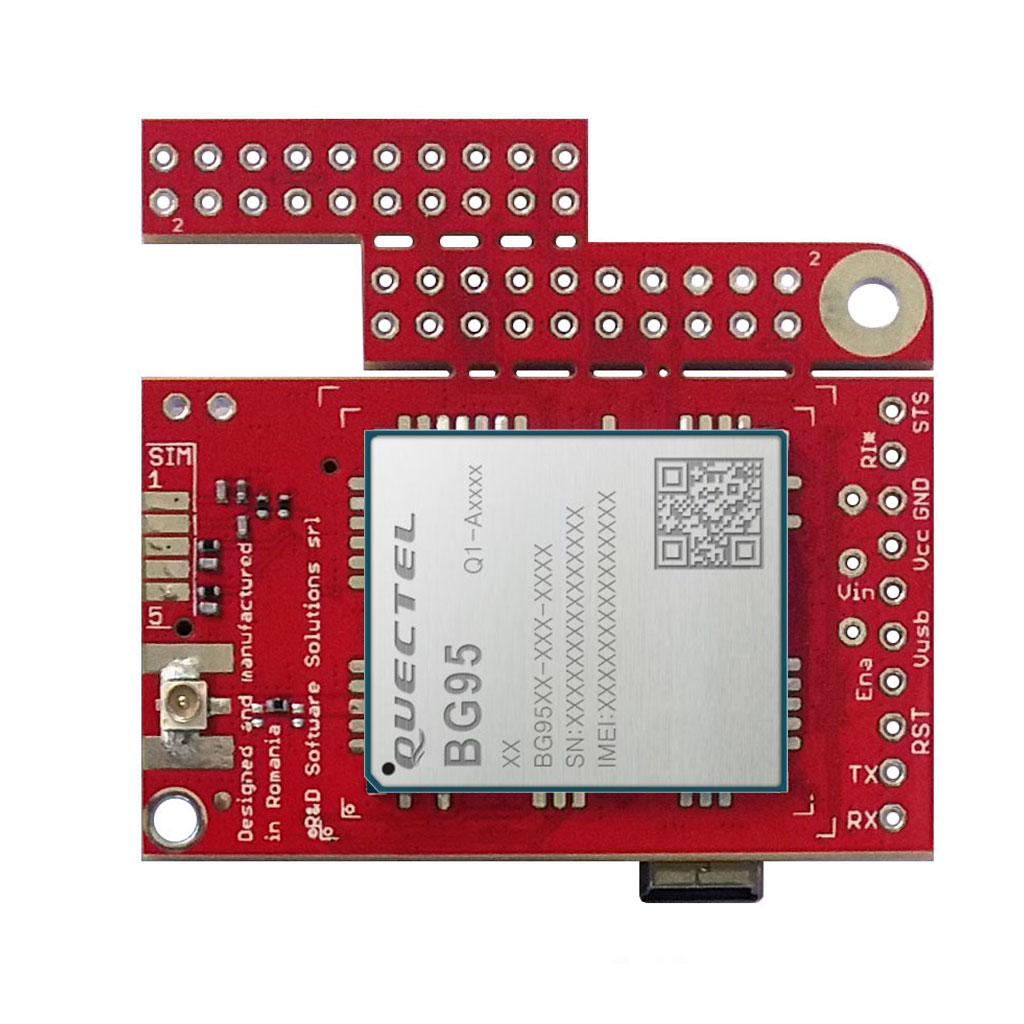
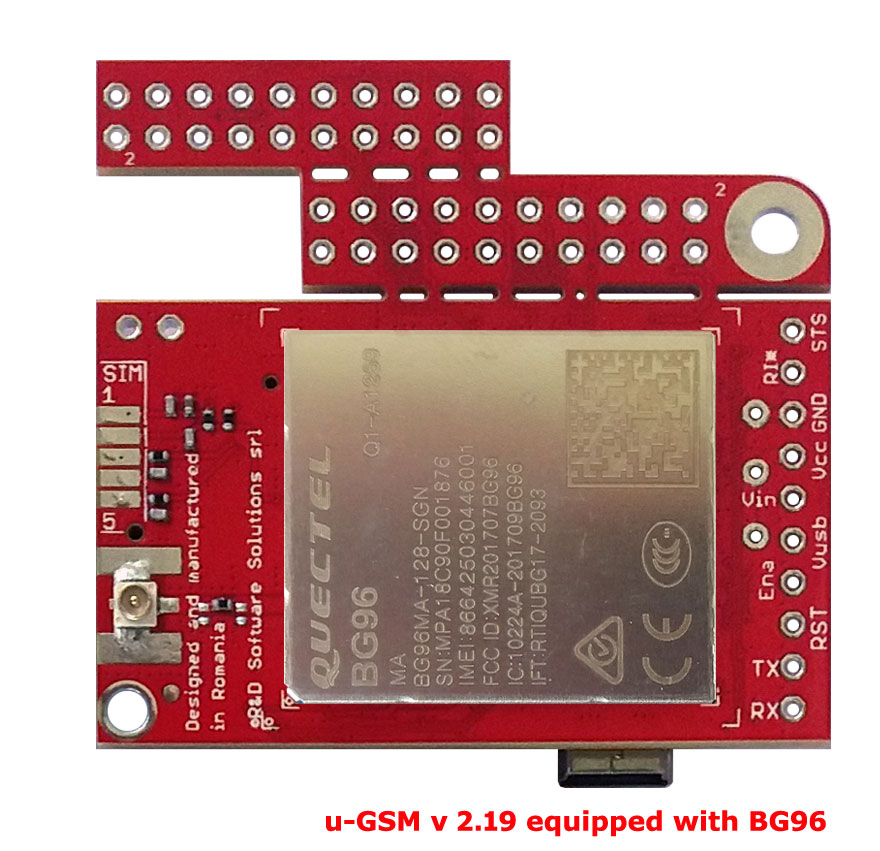
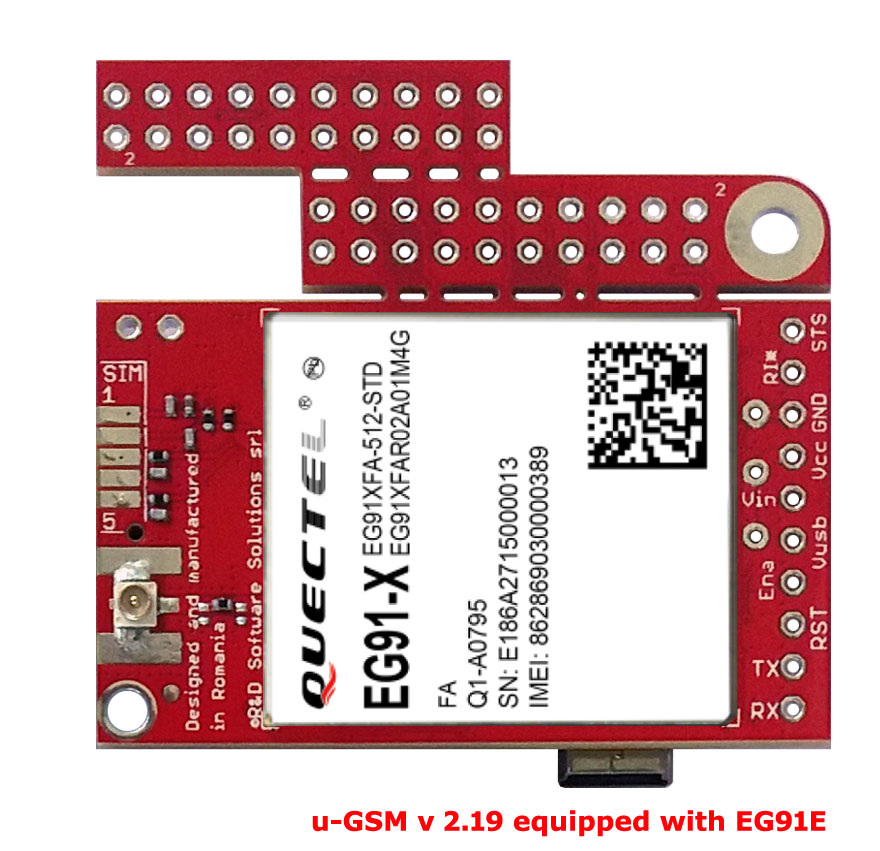
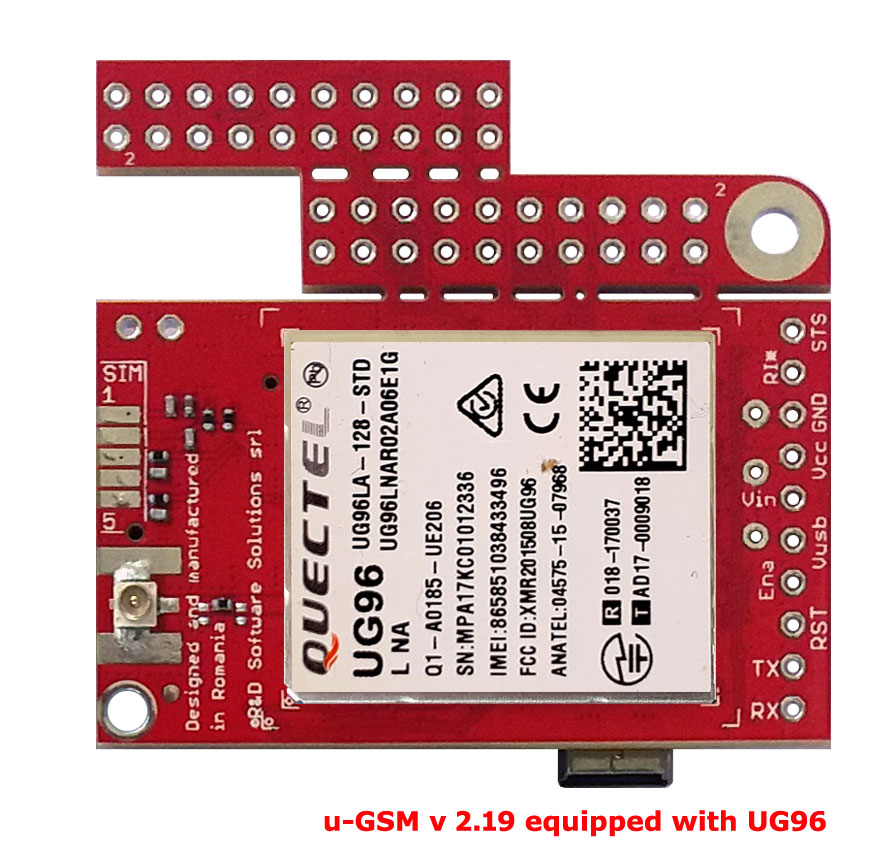
itbrainpower.net u-GSM shield it is the worldwide first (and the only one) modular modem that supports ALL deployed GSM standards [LTE NB IoT / LTE CATM1 / LTE CAT4 / LTE CAT1 / UMTS-3G / GSM-2G] in one unified design! Read u-GSM part numbers, radio protocols and country coverage to find the modem suitable for your application.
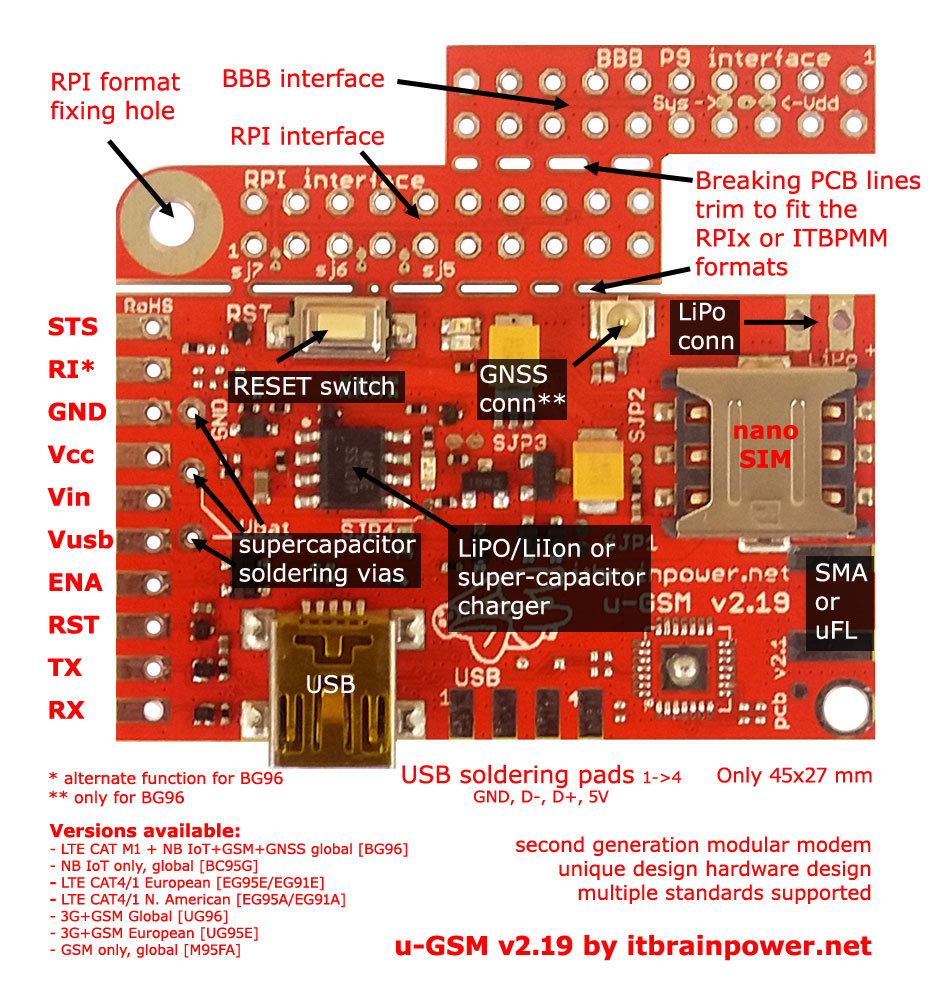
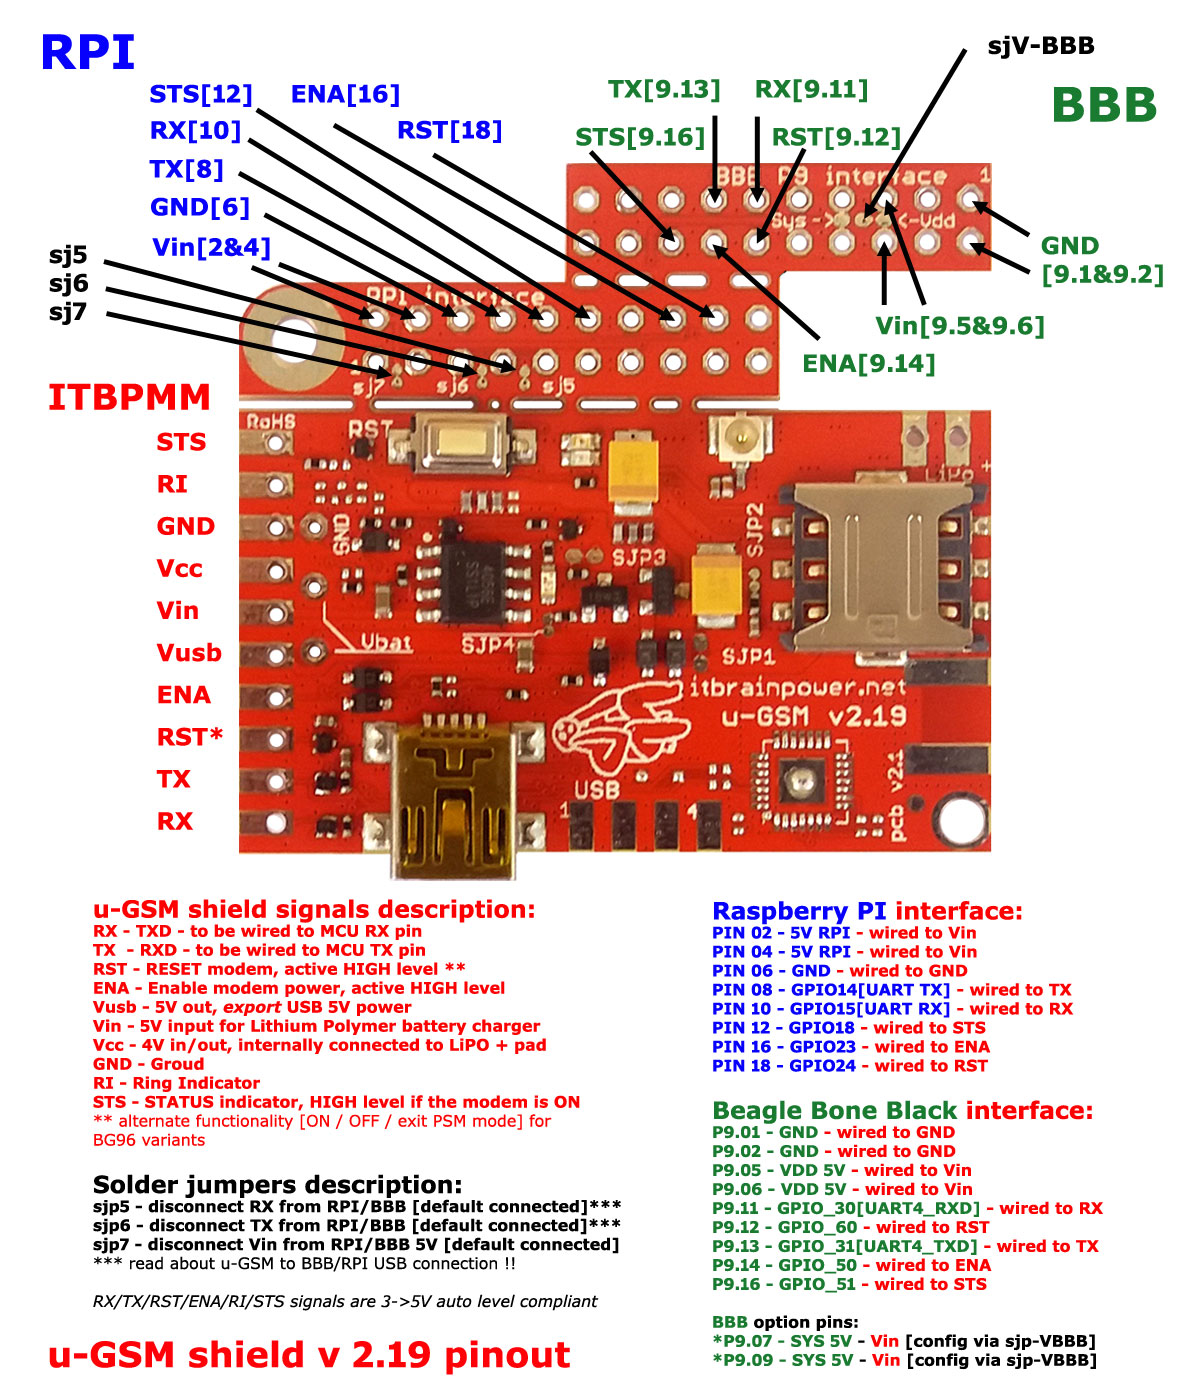
u-GSM RaspberryPI interface [and ITBPMM interface]
RaspberryPi interfacing w. u-GSM via embedded RPi hat interface
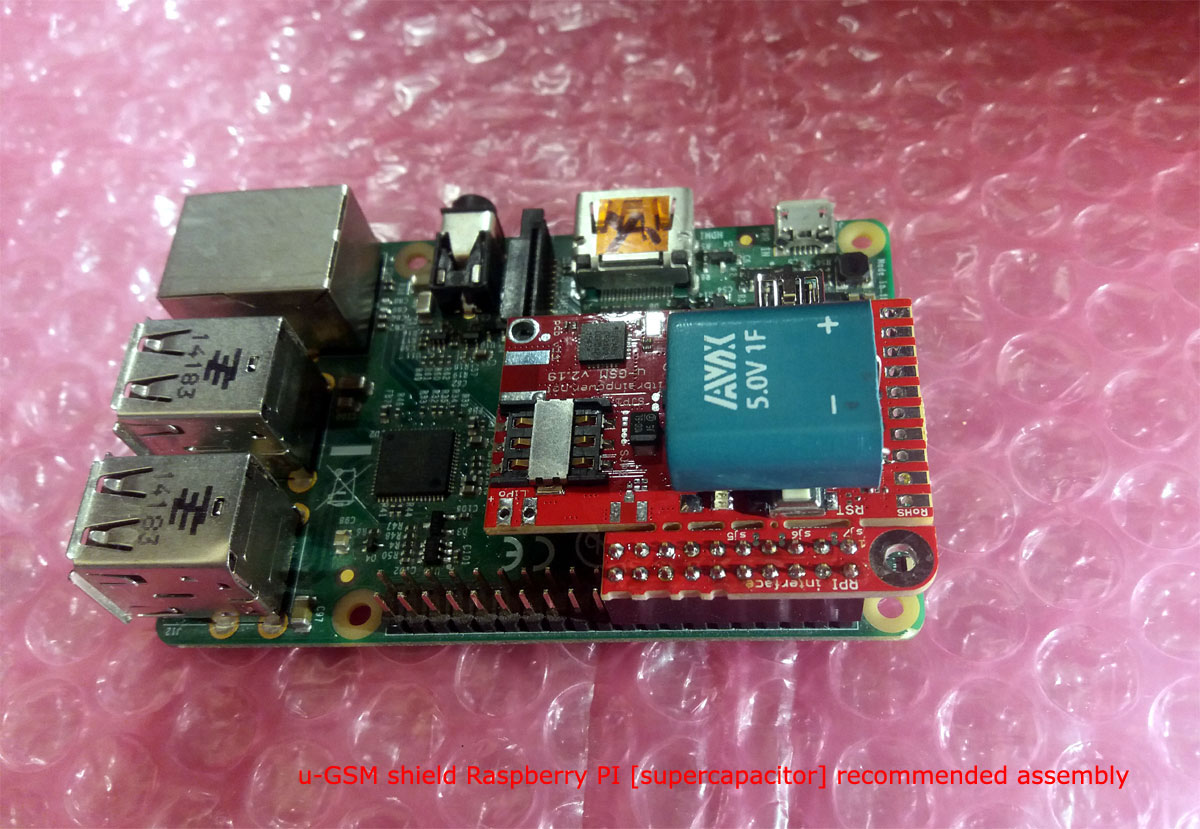
RaspberryPI with u-GSM modem + super-capacitor assembly
More RaspberryPI u-GSM hardware integration info.
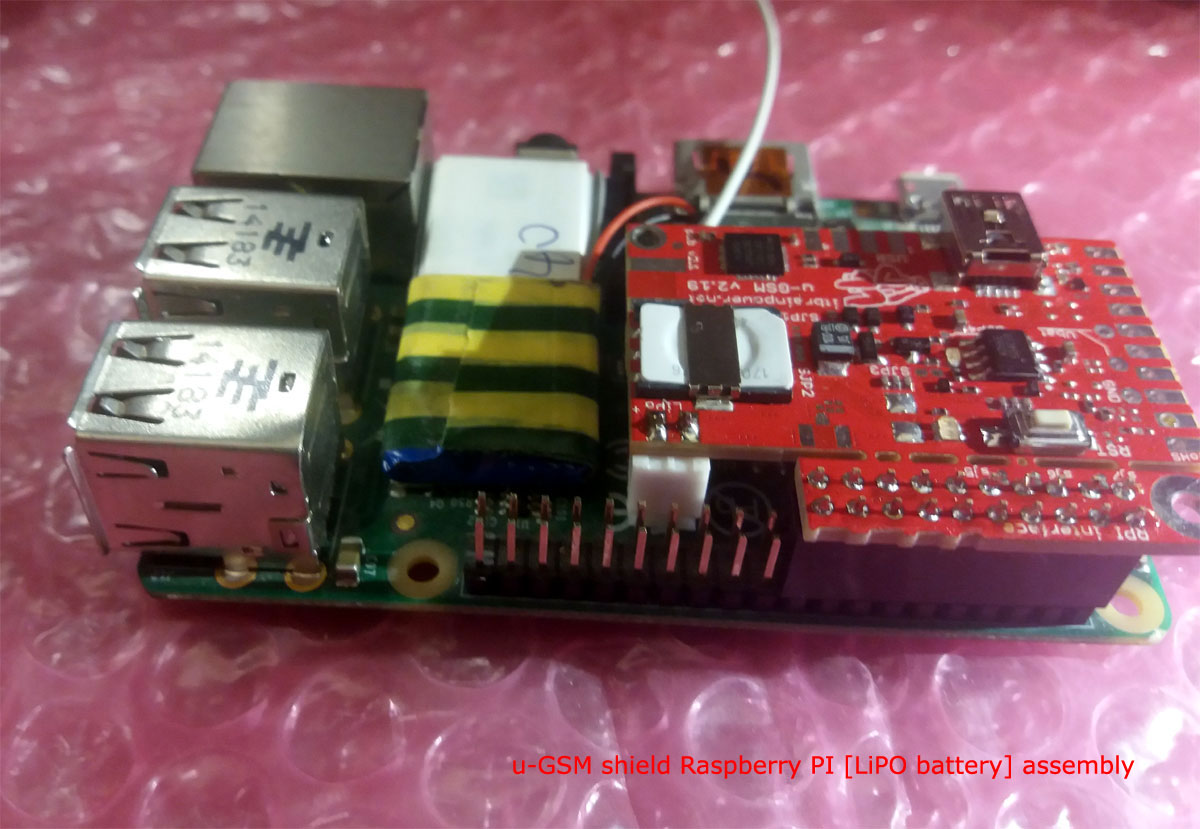
RaspberryPI with u-GSM modem + LiPO assembly
More Raspberry u-GSM hardware integration info.
HINT: for low power LTE modems used in LTE-CATM or NBIoT mode only [BG95-M2 and BG96/BG95-M3 having 2G mode restricted], the LiPO battery or the super-capacitor can be safely replaced with 1000-1500uF/6.3V LOW ESR capacitor.
For a painless hardware integration (including PCB trimming how to) mandatory reading: u-GSM and RaspberryPi [4] hardware integration guidelines and antenna notes.
Dedicated hardware information for modem interfacing via ITBPMM interface using wires
This applies to u-GSM modem SMA version and first version of ITBP modular modems (c-uGSM, h-nanoGSM, d-u3G or l-LTE). You may ignore this if the u-GSM integration it's performed as described above.
Simple connect the wires as shown bellow:
RPI PIN12 [GPIO18] <====> ITBPMM STS
RPI PIN16 [GPIO23] <====> ITBPMM ENA / ITBPMM POW
RPI PIN18 [GPIO24] <====> ITBPMM RST* / ITBPMM RST
RPI PIN08 [GPIO14 / TX] <====> ITBPMM TX
RPI PIN10 [GPIO15 / RX] <====> ITBPMM RX
RPI PIN06 [GND] <====> ITBPMM GND
RPI PIN04 [5V] <====> ITBPMM Vin
Dedicated hardware information for full size itbrainpower.net modems interfacing
This applies to a-gsmII, b-gsmgnss and a-gsm modems. You may ignore this if do not use one of those modems.
Simply follow the hardware integration section here.
Linux Debian 10 [Raspbian Buster] install information and hints
Platforms compatibility: RASPBERRY PI any version including Raspberry PI 4.
u-GSM Debian support packages are available here: u-GSM shield download section.
Easy and fastest approach - use the RPI image patched for itbp modems:
Access the download section, select your shield type and download the last available RPI image patched for ITBP modems. This image is based on Raspbian Buster Lite 2019-09-26.
One micro SD card [at least 4Gb #] it is required for installation of this Linux image [Install a RPi image how to or google for it.]
Some features:
* static ETH0:0 IP address [192.168.122.200]
* sshd enabled
* enabled root access [1234 default password] [including root remote access enabled]
* maintained "rpi" user, having "raspberry" as password
* USB drivers
* mapped USB drivers for UMTS / LTE modems
* modified/remapped hciuart service [enabled BTH support over /dev/serial1 @ 115200bps]
* four additional packages installed [ppp, python-serial, mc and mtr]
* disabled avahi-daemon
* compact size 4Gb image [expanded] #
# for smaller SD (2Gb) - use patched image based on Streach Lite 2018-06-27(but not RPI4 compatible) from download section.
If you like to know what's changed/patched in this Linux image, read next chapter.
Custom install [Debian Buster Lite]
Download and install last Debian Buster Lite image from https://www.raspberrypi.org/downloads/, or use your image.
Follow the same steps described in our RPI software how to, but:
a. first, remove "console=serial0,115200 console=tty1" from "/boot/cmdline.txt" ("cmdline.txt" on SD boot partition)
b. next, add in "/boot/config.txt" ("config.txt" on SD boot partition) following four directives:
enable_uart=1
dtoverlay=pi3-disable-bt
dtoverlay=pi3-miniuart-bt
core_freq=250
c. ignore step 4(done before) and step 10!
d. optional, disable the "avahi-daemon" by running following three commands as root:
systemctl disable avahi-daemon.socket avahi-daemon.service
systemctl mask avahi-daemon.socket avahi-daemon.service
systemctl stop avahi-daemon.socket avahi-daemon.service
READY!
TUTORIAL PROVIDED WITHOUT ANY WARRANTY!!! USE IT AT YOUR OWN RISK!!!!
![Raspberry PI 4 with itbrainpower.net u-GSM LTE modem [EG95/EG91/BG96/BG95-Mx] :: CLICK TO SEE FULL SIZE Raspberry PI 4 with itbrainpower.net u-GSM LTE modem [EG95/EG91/BG96/BG95-Mx]](/images/Raspberry-PI4_u-GSM_Debian_integration_01.jpg)
