About this tutorial
Platforms: RASPBERRY PI any version, but for Raspberry PI4 updated tutorial is better to read this post.
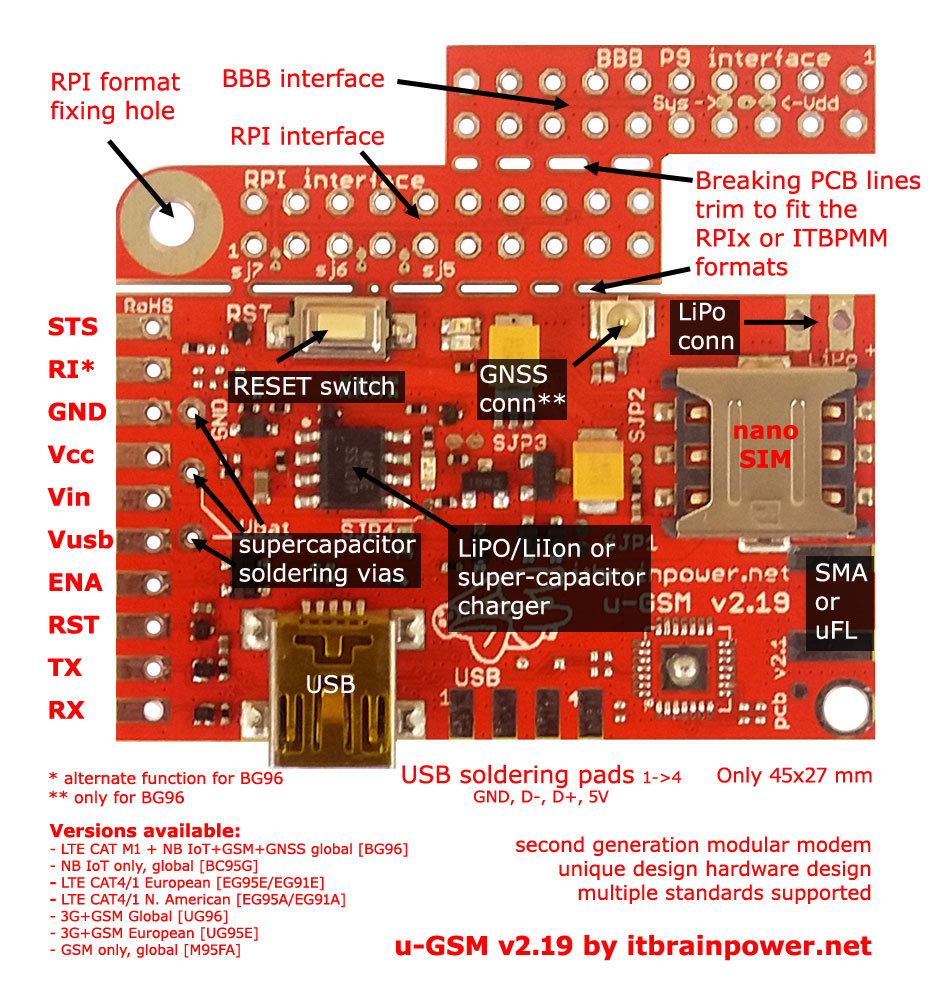
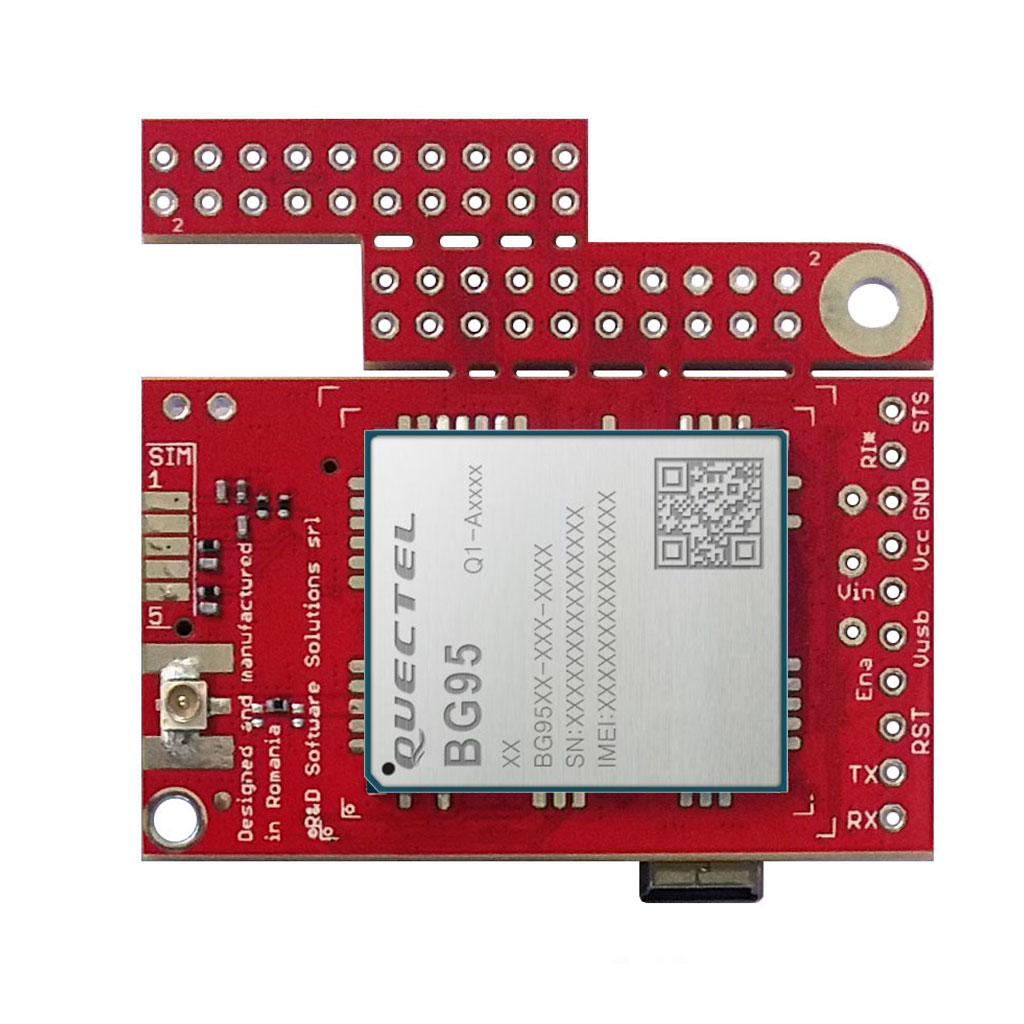
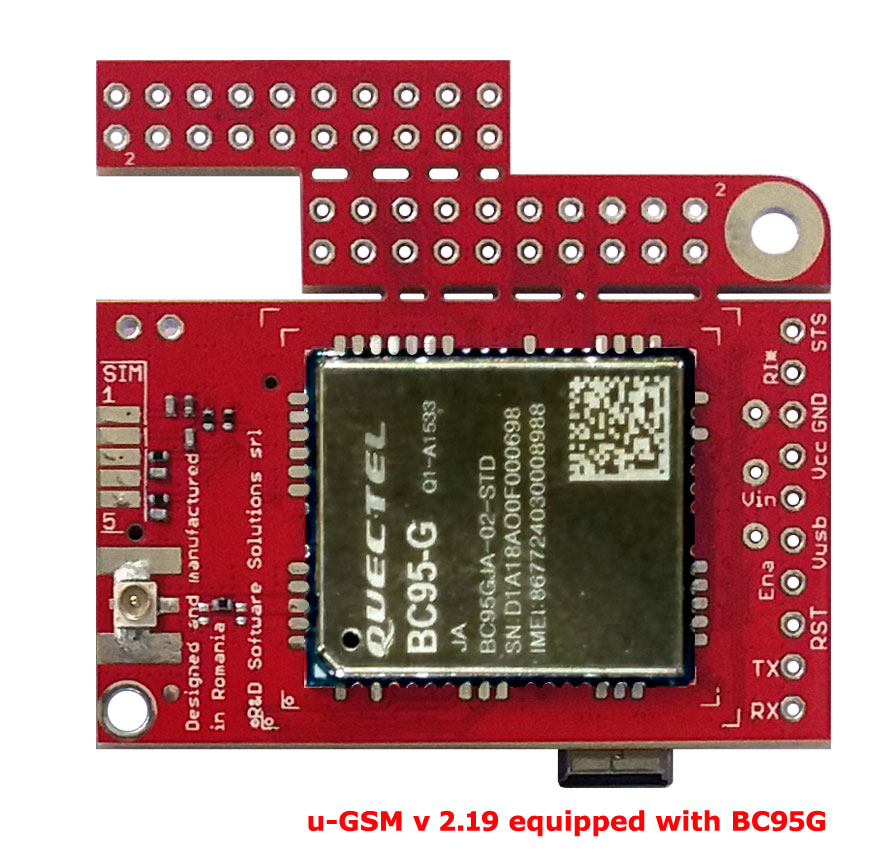
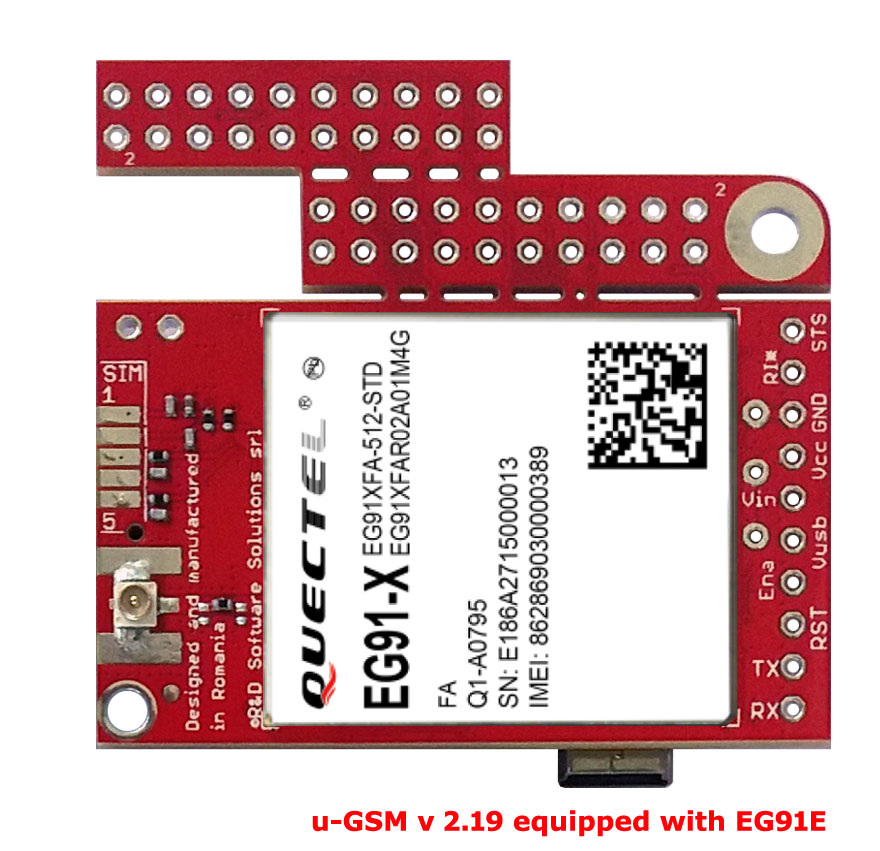
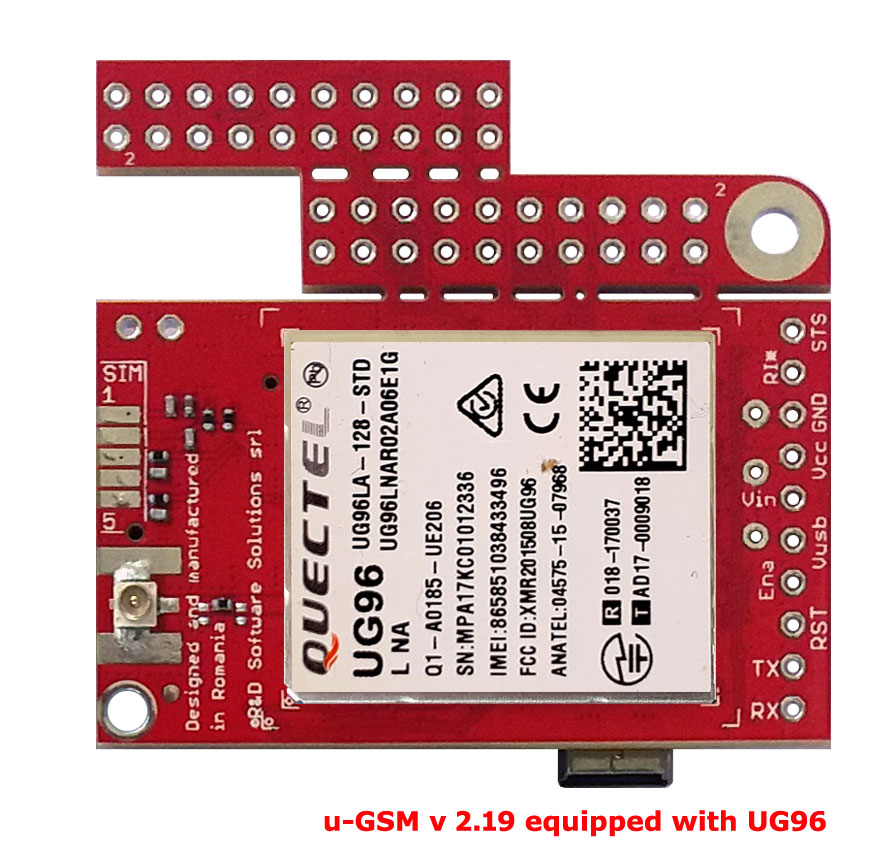
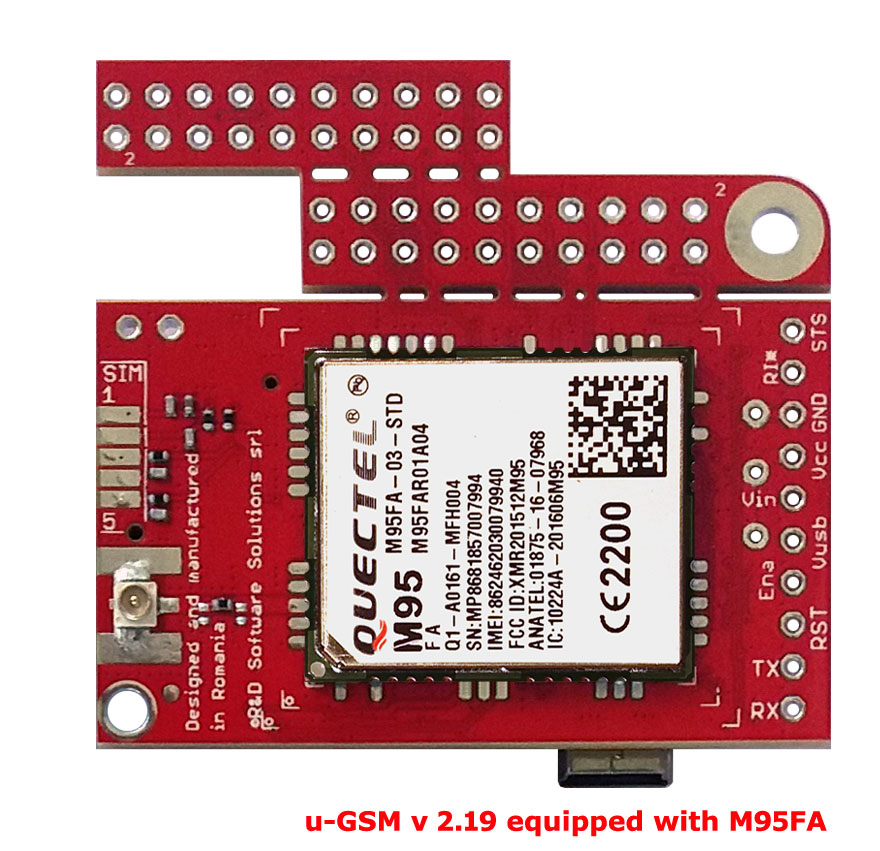
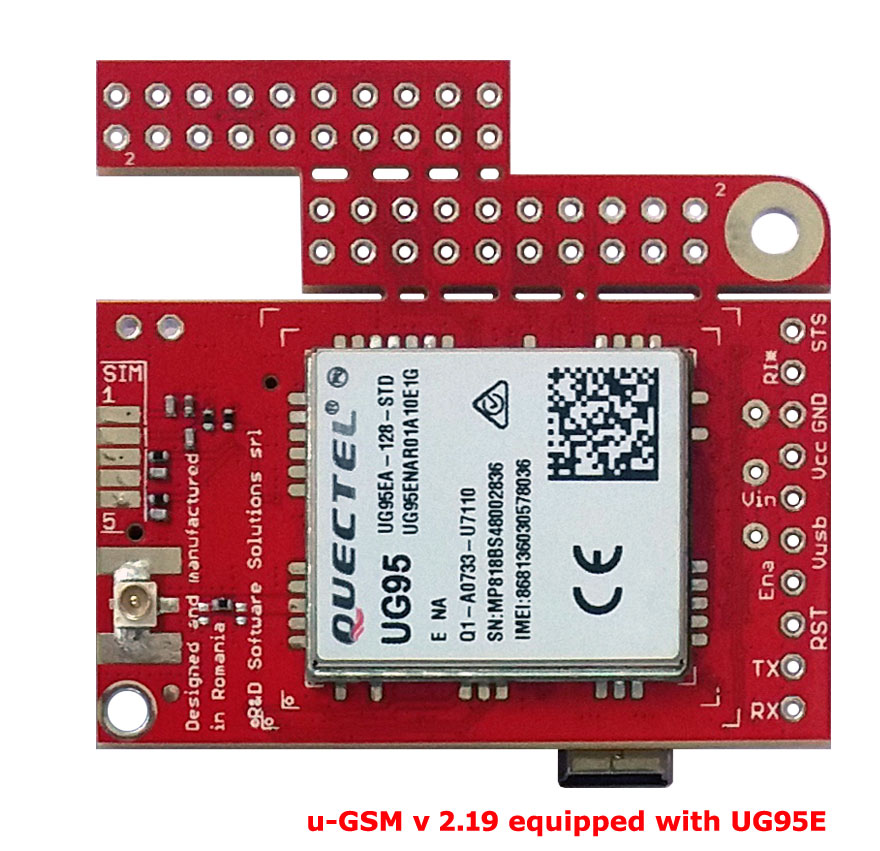
This tutorial address the Raspberry PI software integration steps for itbrainpower.net modems [full size or modular, 2G / 3G / 4G or LPW LTE CATM], including the newest u-GSM shield RPI and BBB embedded interfaces.
itbrainpower.net u-GSM shield it is the worldwide first (and the only one) modular modem that supports ALL deployed GSM standards [LTE NB IoT / LTE CATM1 / LTE CAT4 / LTE CAT1 / UMTS-3G / GSM-2G] in one unified design!


note@20230227 => I stress you again! LiPo/LiION battery OR super-capacitor are REQUIERED for proper u-GSM functionality! *
* for low power LTE u-GSM modems used in LTE-CATM or NBIoT mode only [BG95-M2 and BG96/BG95-M3 having 2G mode restricted], the LiPO battery or the super-capacitor can be safely replaced with 1000-1500uF/6.3V LOW ESR capacitor.
For a painless integration you may like to read u-GSM and RaspberryPi [4] hardware integration guidelines and antenna notes.
For software configuration download and install the support packages from u-GSM shield download section.
Easy and fastest approach - use the RPI image patched for itbp modems:
Access the download section, select your shield type and download the last available RPI image patched for ITBP modems. At publish time, last version is based on Streach Lite 2018-0627.
One micro SD card [at least 2Gb] it is required for instalation of this Linux image. How to install a RPi image or google for this. Ready!
Some features:
* static ETH0:0 IP address [192.168.122.200]
* sshd enabled
* enabled root access [1234 default password] [including root remote access enabled]
* mentained "rpi" user, having "raspberry" as password
* USB drivers
* mapped USB drivers for UMTS / LTE modems
* modified/remapped hciuart service [enabled BTH support over /dev/serial1 @ 115200bps]
* four additional packages installed [ppp, python-serial, mc and mtr]
* compact size 2Gb image [expanded]
If you like to know what's changed/patched in this Linux image, read next chapter.
Custom install [Debian Streach Lite]
Download and install last Debian Streach Lite image from https://www.raspberrypi.org/downloads/, or use your image.
Bellow are the patches [and configuration steps] required for itbp modems usage listed step by step. If you apply patches to your custom image, you may skip some steps if neccesary.
1. Install additional packages:
sudo apt-get update
sudo apt-get install ppp
sudo apt-get install python-serial
sudo apt-get install mc
sudo apt-get install mtr
2. Enable sshd + disable serial console & enable serial. Made via
sudo raspi-config
* menu 5 / P2 for sshd
* menu 5 / P6 for disable serial console & enable serial
3. Edit /etc/rc.local, add following lines, before "# Print the IP address" line [optional step, only for USB communication for LTE and LPWR LTE modems]:
#next 3 lines add USB support for itbrainpower.net l-LTE modems
/sbin/modprobe --first-time usbserial > /dev/null 2>&1
echo 2C7C 0121 > /sys/bus/usb-serial/drivers/generic/new_id
echo 2C7C 0125 > /sys/bus/usb-serial/drivers/generic/new_id
#next 5 lines add USB support for itbrainpower.net u-GSM LTE modems
echo 2C7C 0191 > /sys/bus/usb-serial/drivers/generic/new_id #EG91 u-GSM equipped with EG91
echo 2C7C 0195 > /sys/bus/usb-serial/drivers/generic/new_id #EG95 u-GSM equipped with EG95
echo 2C7C 0296 > /sys/bus/usb-serial/drivers/generic/new_id #BG96 u-GSM equipped with BG96
echo 2C7C 0901 > /sys/bus/usb-serial/drivers/generic/new_id #u-GSM equipped with EG915U
echo 05C6 9330 > /sys/bus/usb-serial/drivers/generic/new_id #u-GSM equipped with C16QS or C17QS
sleep 10
/sbin/ifconfig eth0:0 192.168.122.200 up > /dev/null# supplementary static IP address
4. Edit /boot/config.txt
Check for:
enable_uart=1
And add following 3 lines[1'st. disable BLE on /dev/ttyAMA0; 2'th. enable BLE on SERIAL1; 3'th fix proper frequency to be used in conjuction with SERIAL1]:
dtoverlay=pi3-disable-bt
dtoverlay=pi3-miniuart-bt
core_freq=250
5. Reboot
6. Disable serial getty via following two commands:
sudo systemctl stop serial-getty@ttyAMA0.service
sudo systemctl disable serial-getty@ttyAMA0.service
7. Patch the hciuart service.
variant a. Edit the /lib/systemd/system/hciuart.service, SERVICE section, like bellow [comment the original "ExecStart" line, add the second one]:
#ExecStart=/usr/bin/btuart
ExecStart=/usr/bin/hciattach /dev/serial1 bcm43xx 115200 noflow -
variant b.[better, we've applied this one] Edit /usr/bin/btuart
Identify the line $HCIATTACH /dev/serial1 bcm43xx 460800 noflow - $BDADDR comment it and add bellow
$HCIATTACH /dev/serial1 bcm43xx 115200 noflow - $BDADDR
8. Set root password [optional]
sudo passwd root
we set as root passord: 1234
...BTW: the "rpi" user it is maintained, having "raspberry" as password.
9. Enable root remote login via ssh [optional]
Edit /etc/ssh/sshd_config [Authentication section]. Comment first line, add the second one
#PermitRootLogin without-password
PermitRootLogin yes
10. Fix the USB ACM disconnection bug found on Strech Lite 20180627 release [only if you intend to use UG9X modems over USB]
Credits: https://www.cl.cam.ac.uk/~atm26/ephemeral/rpi/dwc_otg/doc/html/module%20parameters.html. Thank you dudes!
Edit /boot/cmdline.txt. Add after dwc_otg.lpm_enable=0 following two statements:
dwc_otg.speed=0 dwc_otg.host_support_fs_ls_low_power=0
Edit /lib/udev/rules.d/69-libmtp.rules. At the end of the file, but before "#Autoprobe vendor...", add following 3 lines:
# Quectel UG9X
ATTR{idVendor}=="058b", ATTR{idProduct}=="0041", GOTO="libmtp_rules_end"
ATTR{idVendor}=="1519", ATTR{idProduct}=="0020", GOTO="libmtp_rules_end"
11. Reboot
READY!
TUTORIAL PROVIDED WITHOUT ANY WARRANTY!!! USE IT AT YOUR OWN RISK!!!!